1. CHARACTER PROFILE
2. RESEARCH & INSPIRATION
3. CHARACTER EXPLORATION
4. POSE SHEETS
5. CHARACTER TURN-AROUND
6. CHARACTER EXPRESSION SHEET
7. CHARACTER LINE-UP
1. CHARACTER PROFILE
The more you know your characters, the better you will understand what motivates them or how they will resond in a given situation.
CHARACTER BIO: What is your character's story? Name, Age, status in life. Our historys have a way of shaping the way we move in the world. Write up a brief bio of you main characters. Begin with the larger traits that capture your imagination, then fill in the rest to create a dementional character.
CHARACTER MOTIVATION: Two questions that if you can answer them clearly, will define the motivation of your character. All the other character traits can be bent to support them.
What does your character want?
What is getting in their way?
2. RESEARCH & INSPIRATION
If you don't have a Pinterest account go to https://www.pinterest.com/ and sign up for one.
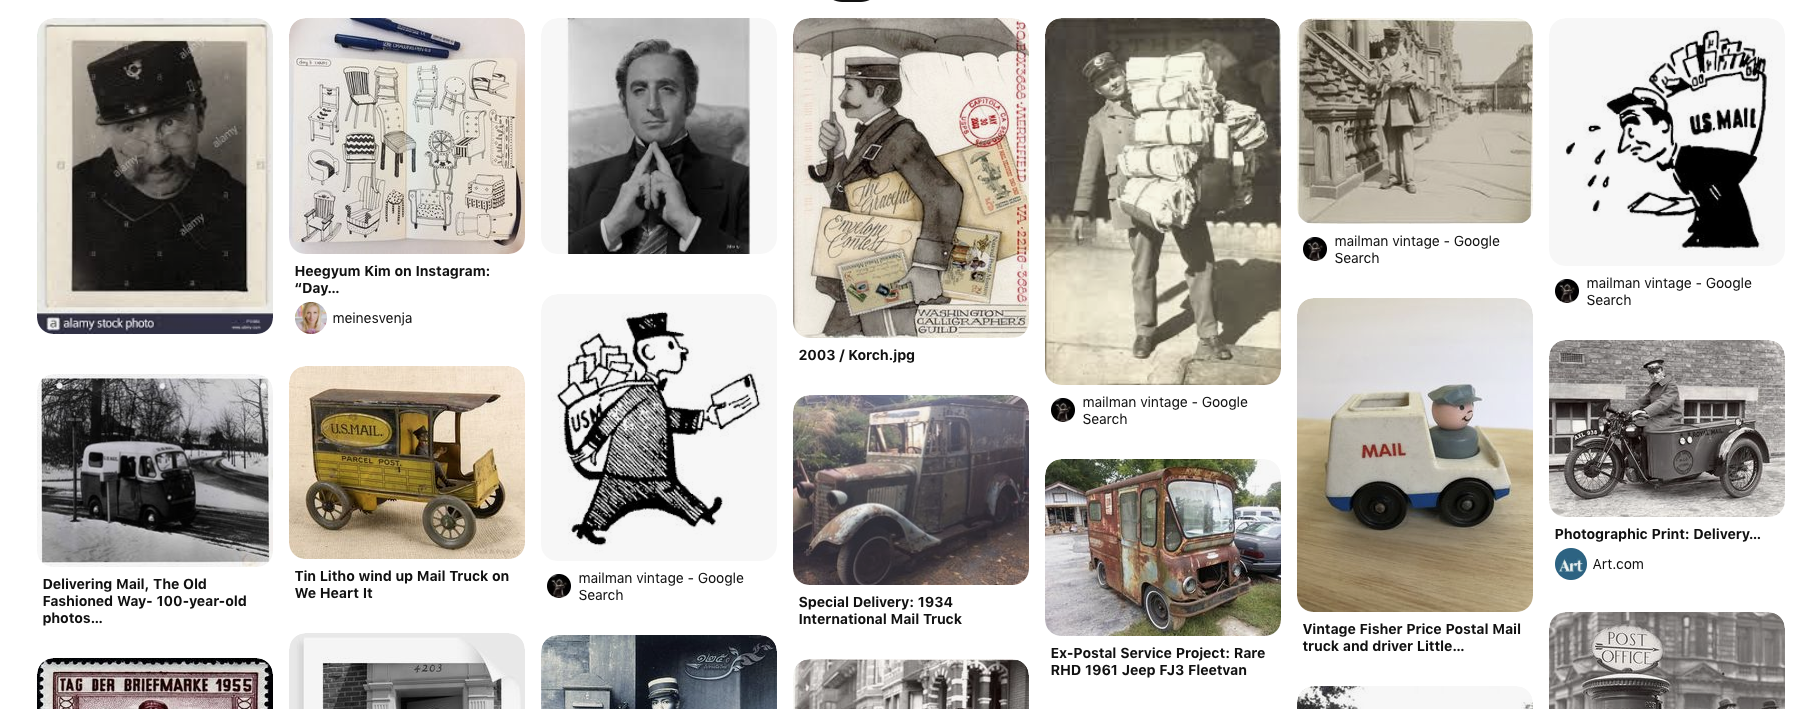
A. RESEARCH PINTRIST BOARD: This is mostly about researching the facts around your character so it would make sense that the majority of these images might be actual photographs. Even our fantasy characters are elaborations on life as we know it. Is your character a product of a certain time, place, or occupation? How old are they? Begin your research by looking though a variety of sources mostly from real life. Compile your research images from photos, news clips, historical journals, live-action character actors, cultural artifacts, fine arts, illustrations and even historical cartoons.
Consider the rich resource of live-action film, especially from the golden age of 30's, 40's and 50's Hollywood. Many of the characters portrayed were larger than life and translate beautifully into graphic character design.
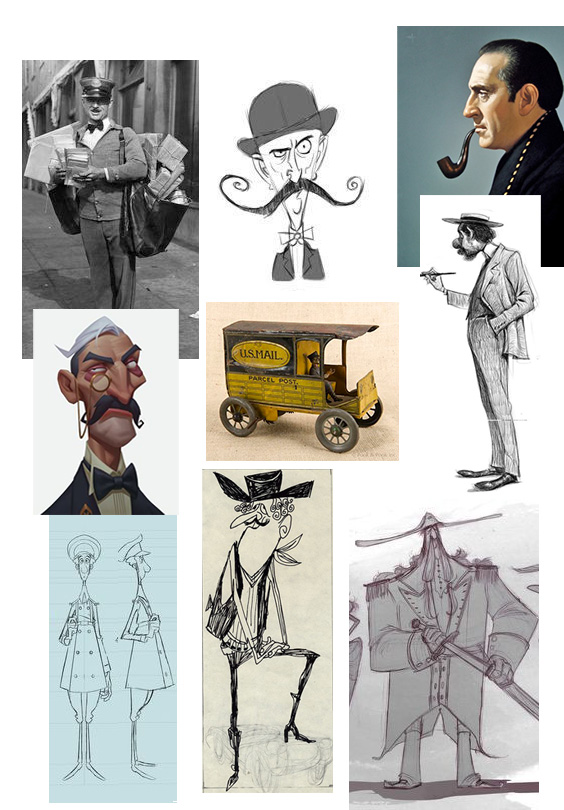
B. INSPIRATION PINTRIST BOARD: At this point you want to feed the design process with a balance of possibilities. Some images should broaden your artistic influences while others should reflect design-styles that lend themselves to your own visual sensibilities.
What artists and studios are you drawing from to inspire the direction of your character design? Consider looking at rejected character designs from "making of" animation books, illustrated characters from picture books, graphic novels and even fine artists.
C. RESEARCH & INSPIRATION PAGE
Refine your research and Inspiration by downloading the only images that you feel most move your design research in a focused direction. The images compiled on these two pages should result in a kind of a composite of the character you are hoping to design. One image may represent a drawing style you're hoping to emulate while another may capture the character's body-type. Another might show hairstyle, or highlight wardrobe or costume and a reference photo may capture an exact mood or an era.
WORKFLOW:
1. If you haven't already, this is a good time to start building your project folders.
2. Download images from your Pinterest Boards that could make the cut into your Research & Inspiration page. If you work in Adobe Bridge, you'll see the image populate the folders as you work.
3. Use Photoshop to arrange your images in a way that best portrays the visual direction your research has taken you. This single page will be your guide as you begin the next stage of character exploration drawings.
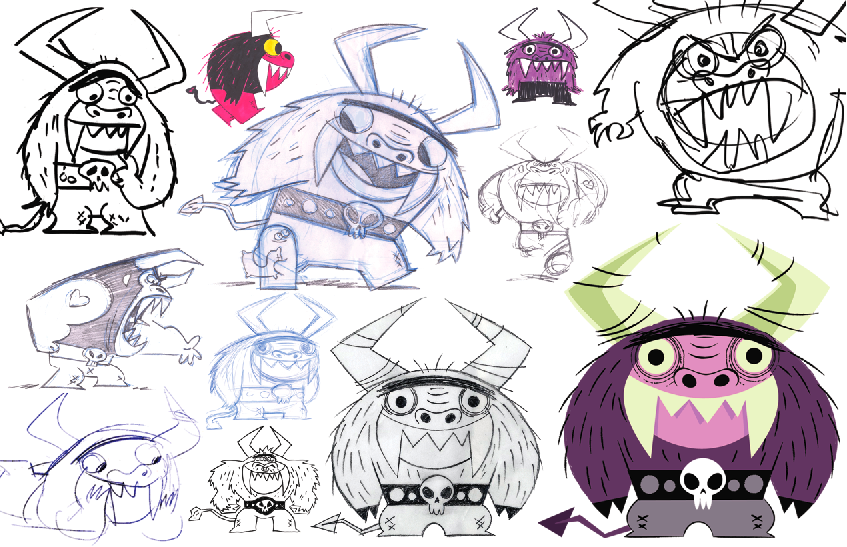
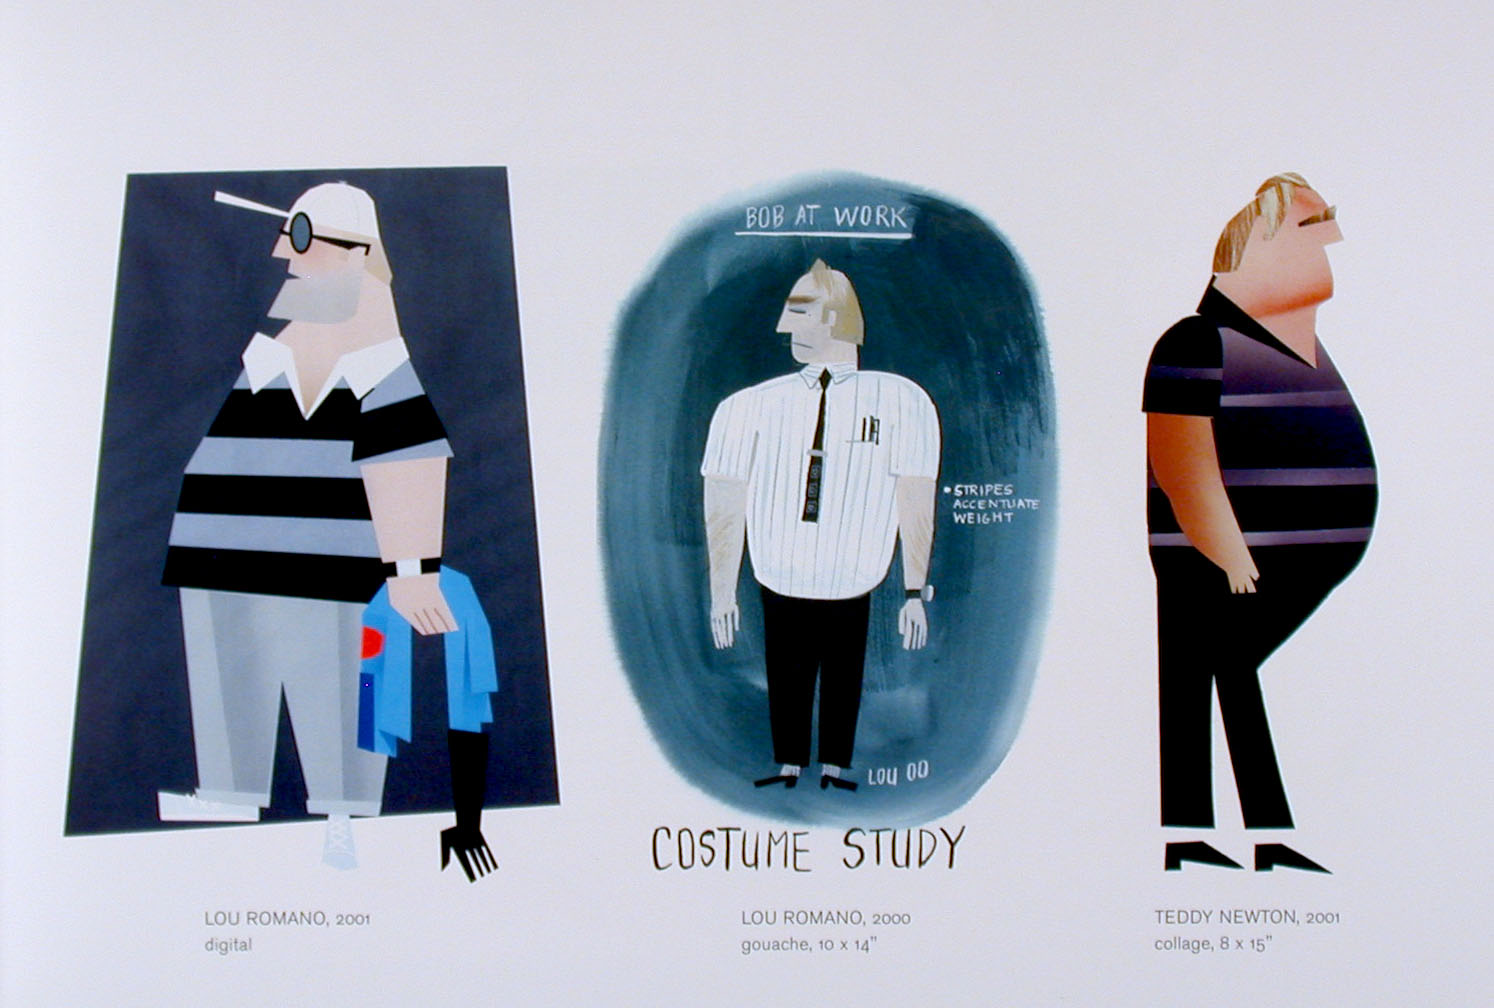
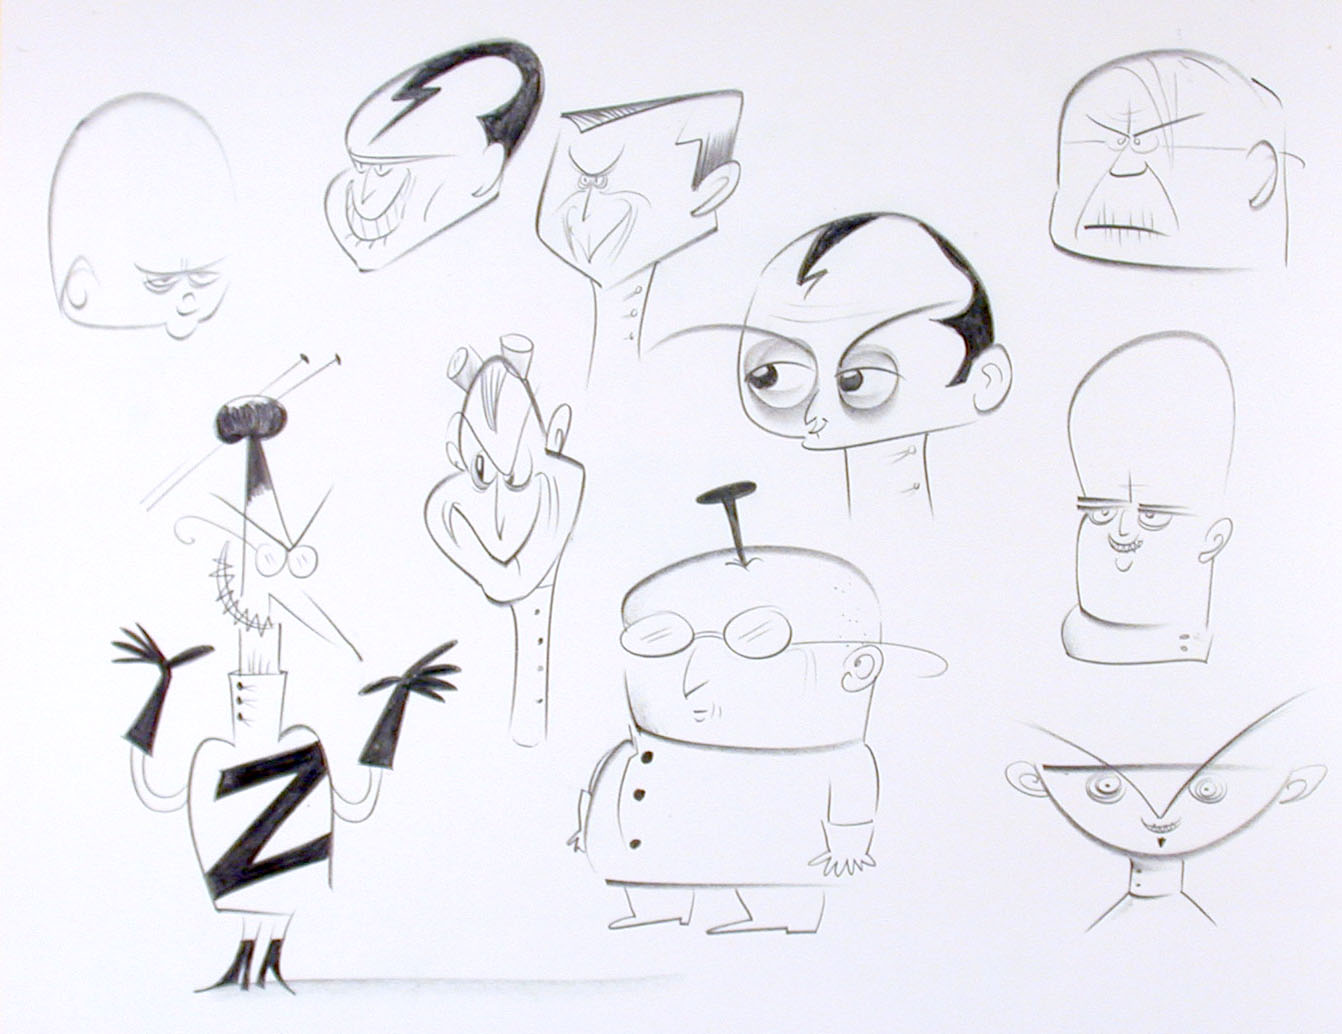
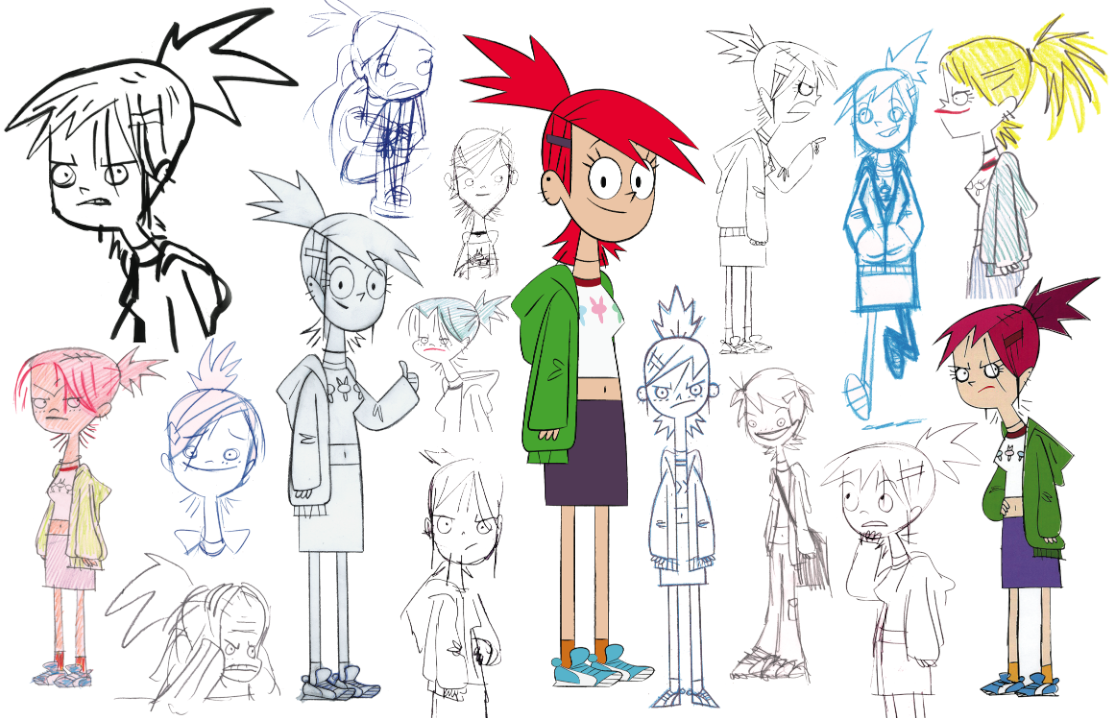
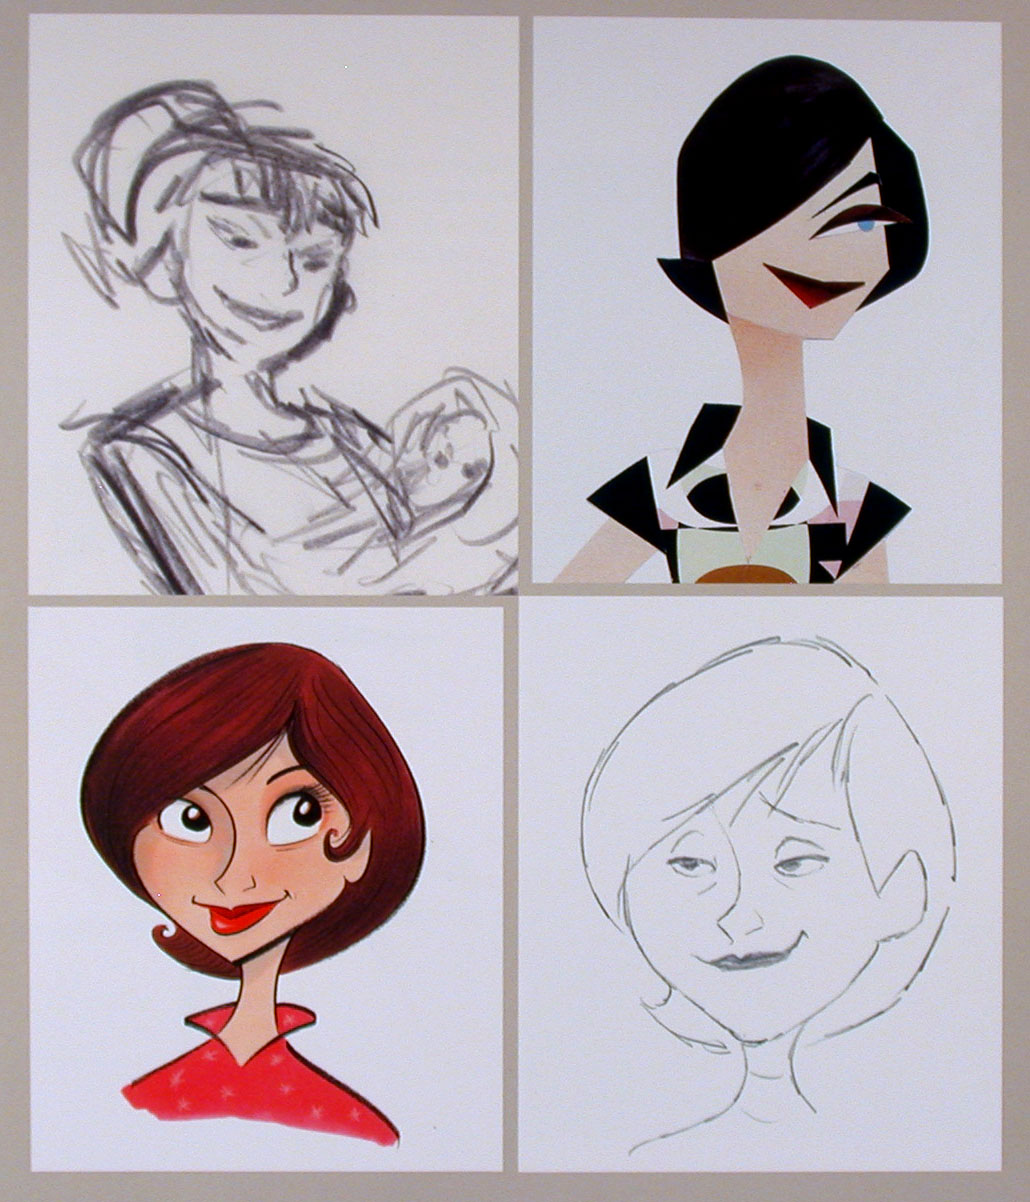
3. CHARACTER EXPLORATION SHEETS
Exploration Sketches are not meant to be polished in any way. Keep your drawing loose which should allow you to do more variations and take greater risks. There will be time to polish later as the direction of your design becomes more refined. Character Exploration sketches should be arranged on a single page, per character with the most likely design most prominent on the page.
WORKFLOW:
- Begin by creating at least a dozen or so radically different sketches of what your character might look like. Work in whatever medium you feel comfortable with and remember to reference your Research & Inspiration pages to expand your design ideas.
- Identify the likeliest choice to move forward by making it prominent on the page and adding color or tone.
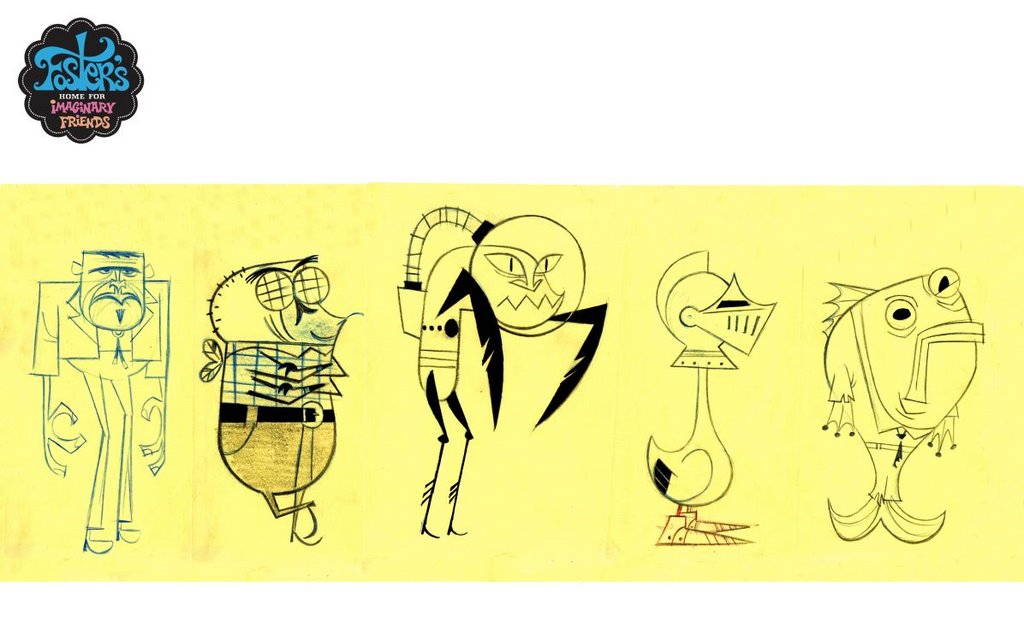
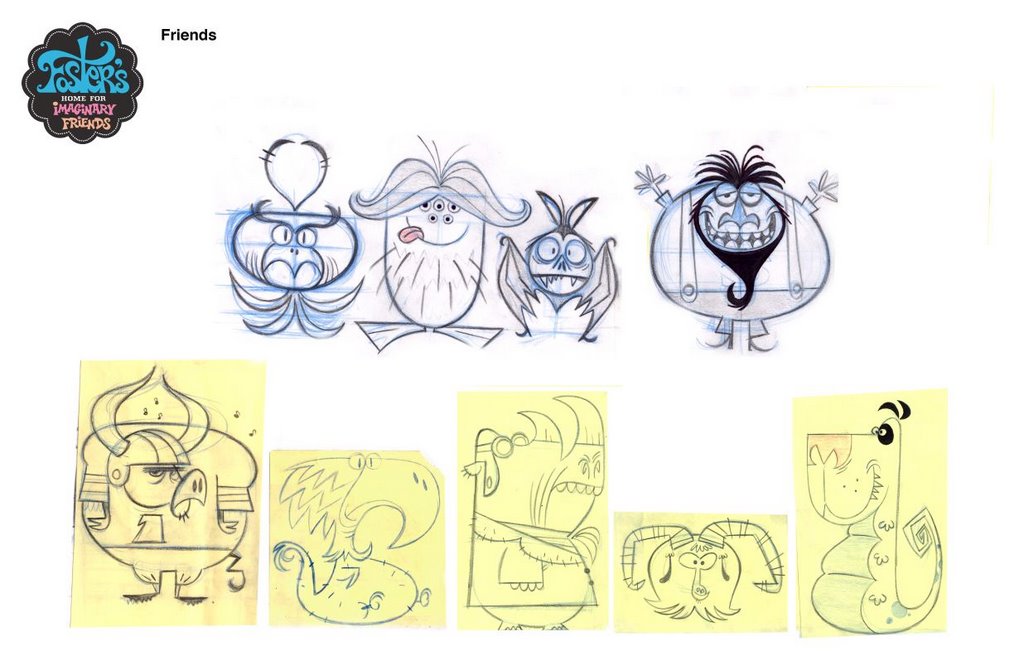
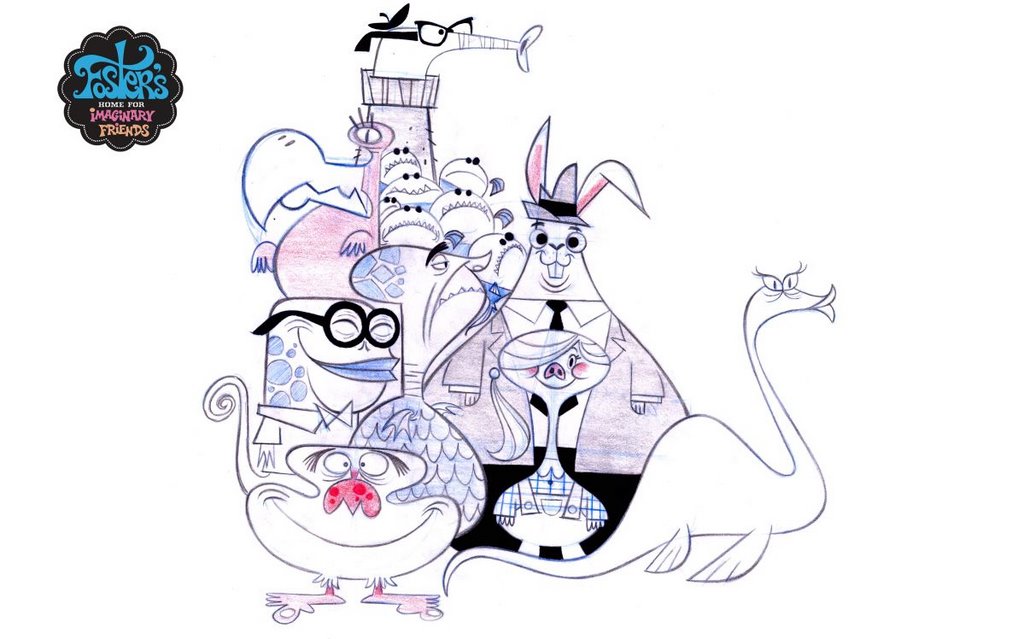
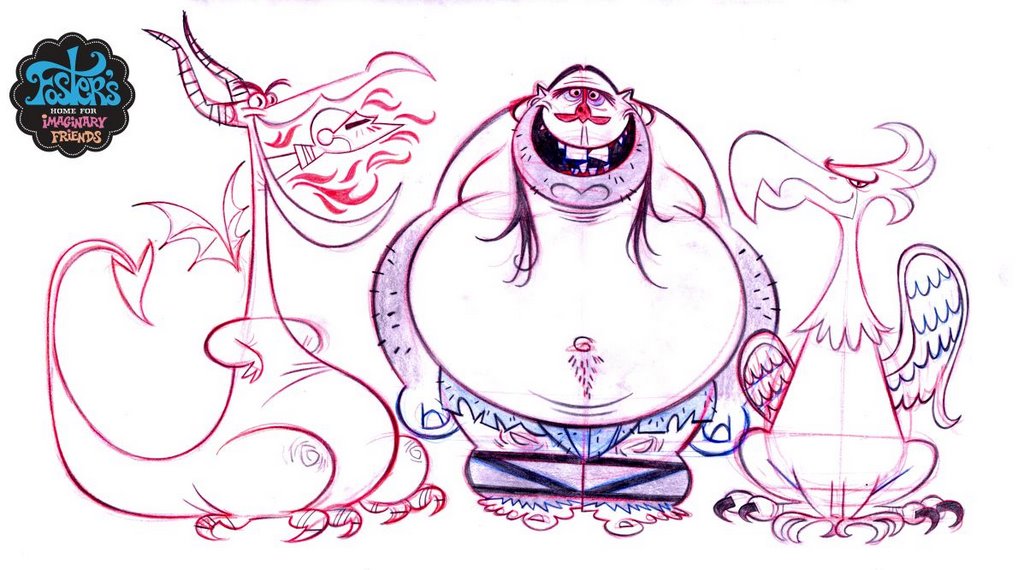
EXAMPLE FOR CENTRAL CHARACTERS - Foster's House of Imaginary Friends
EXAMPLE FOR SECONDARY CHARACTERS - Foster's House of Imaginary Friends
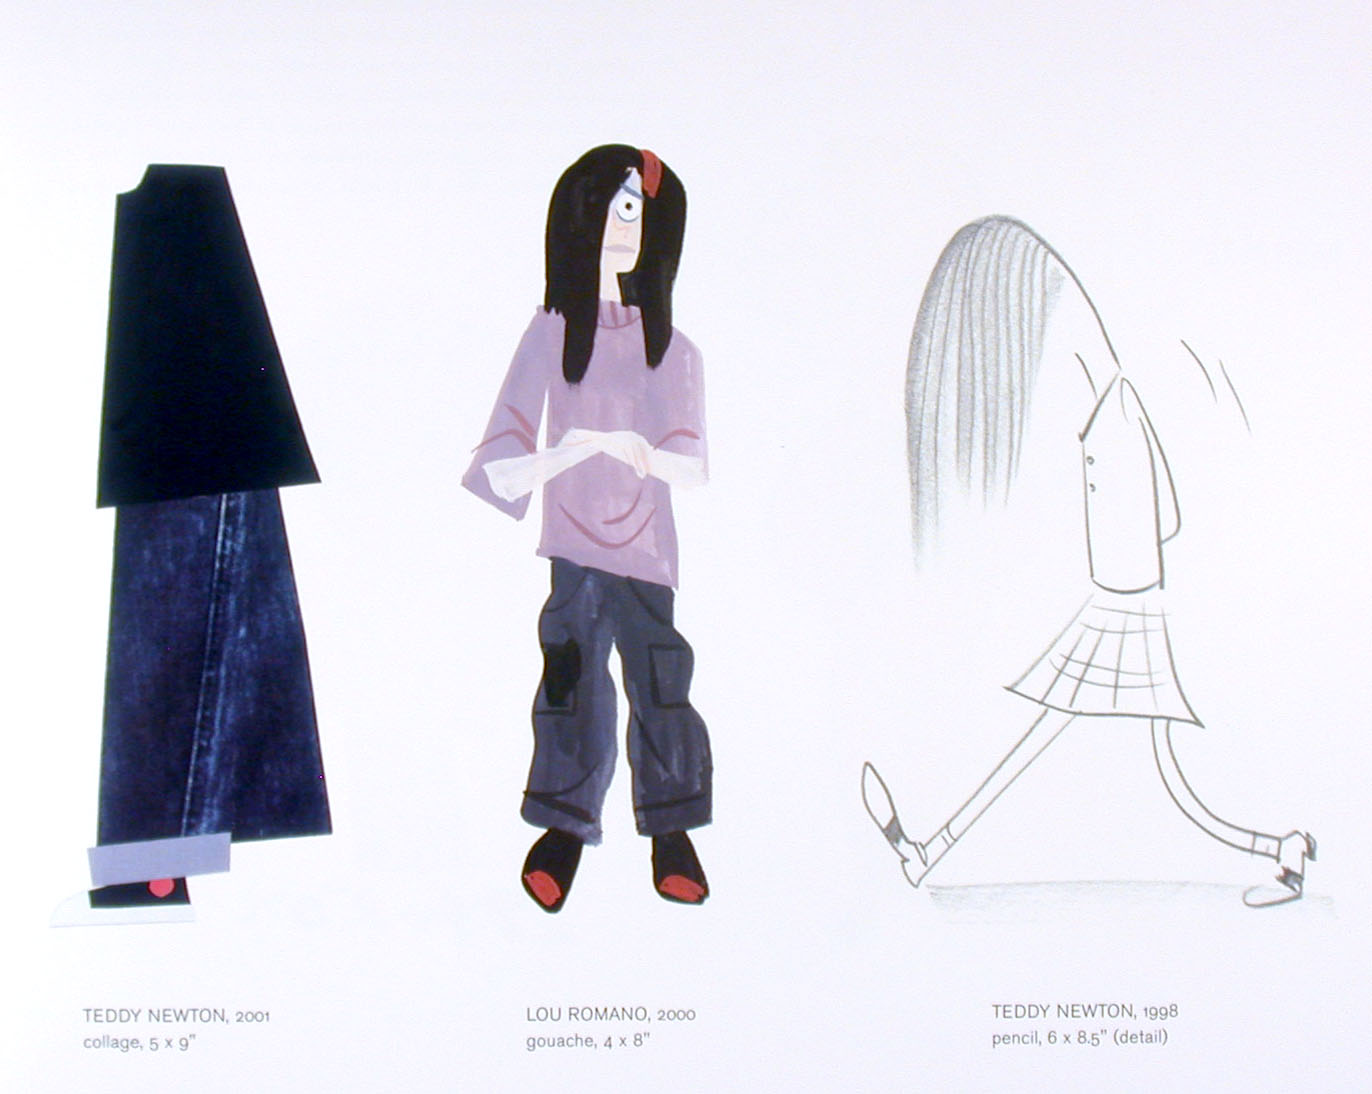
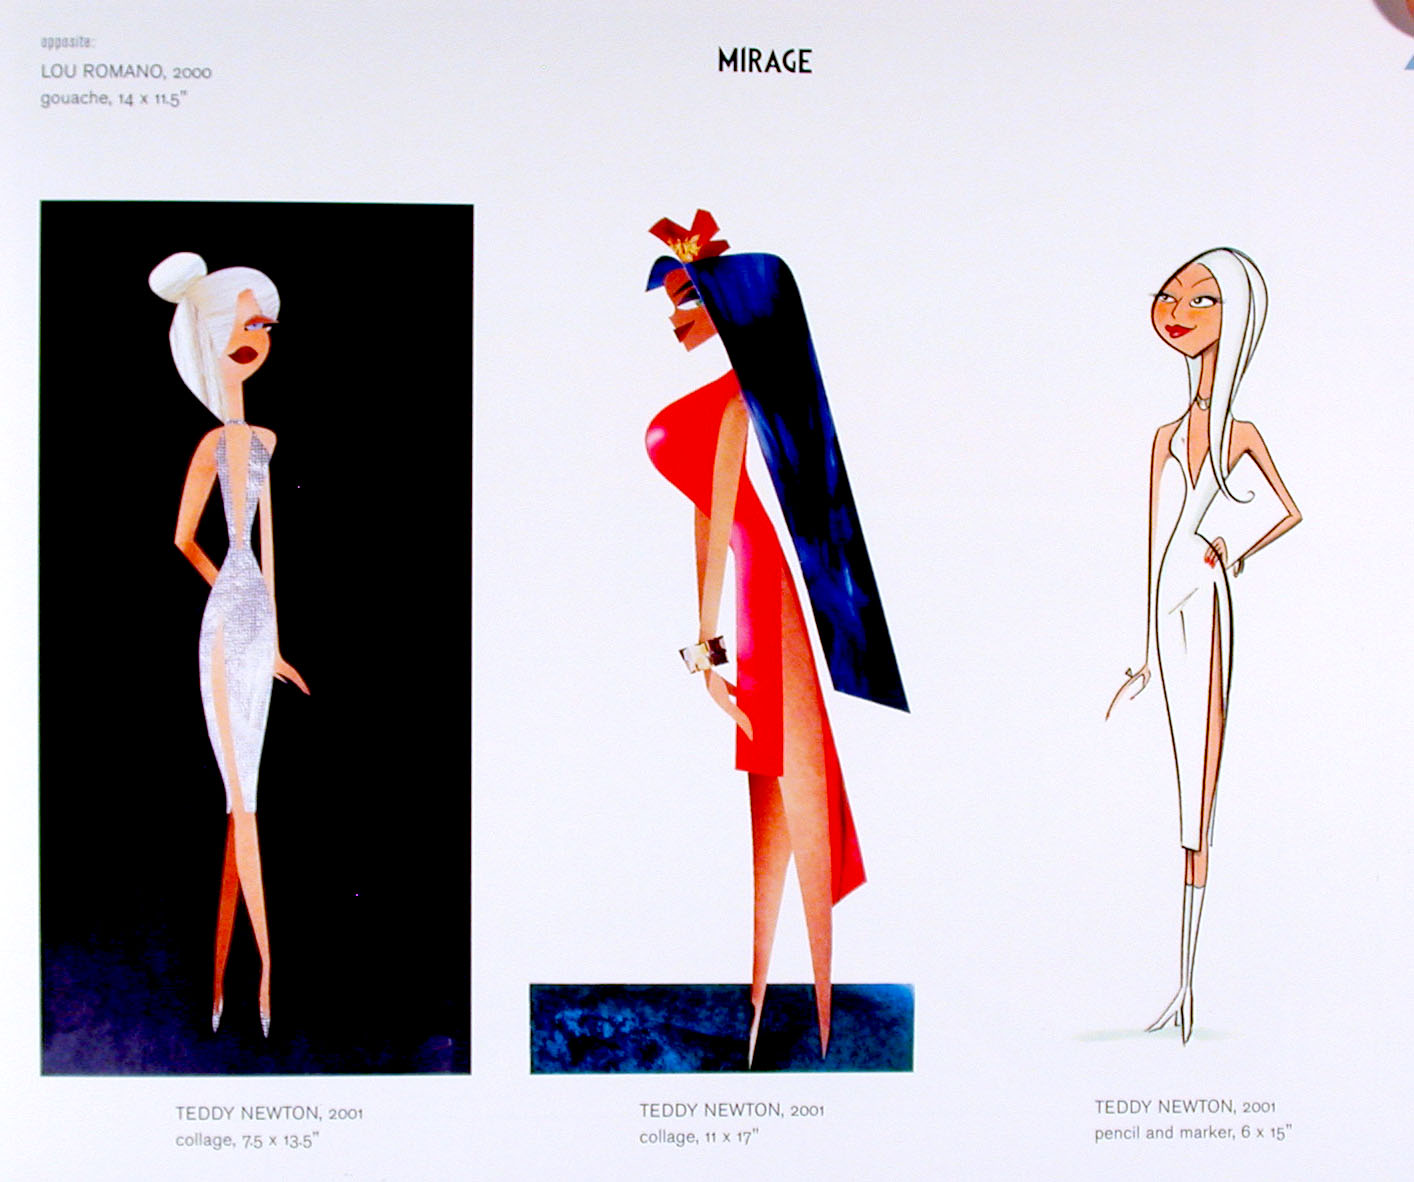
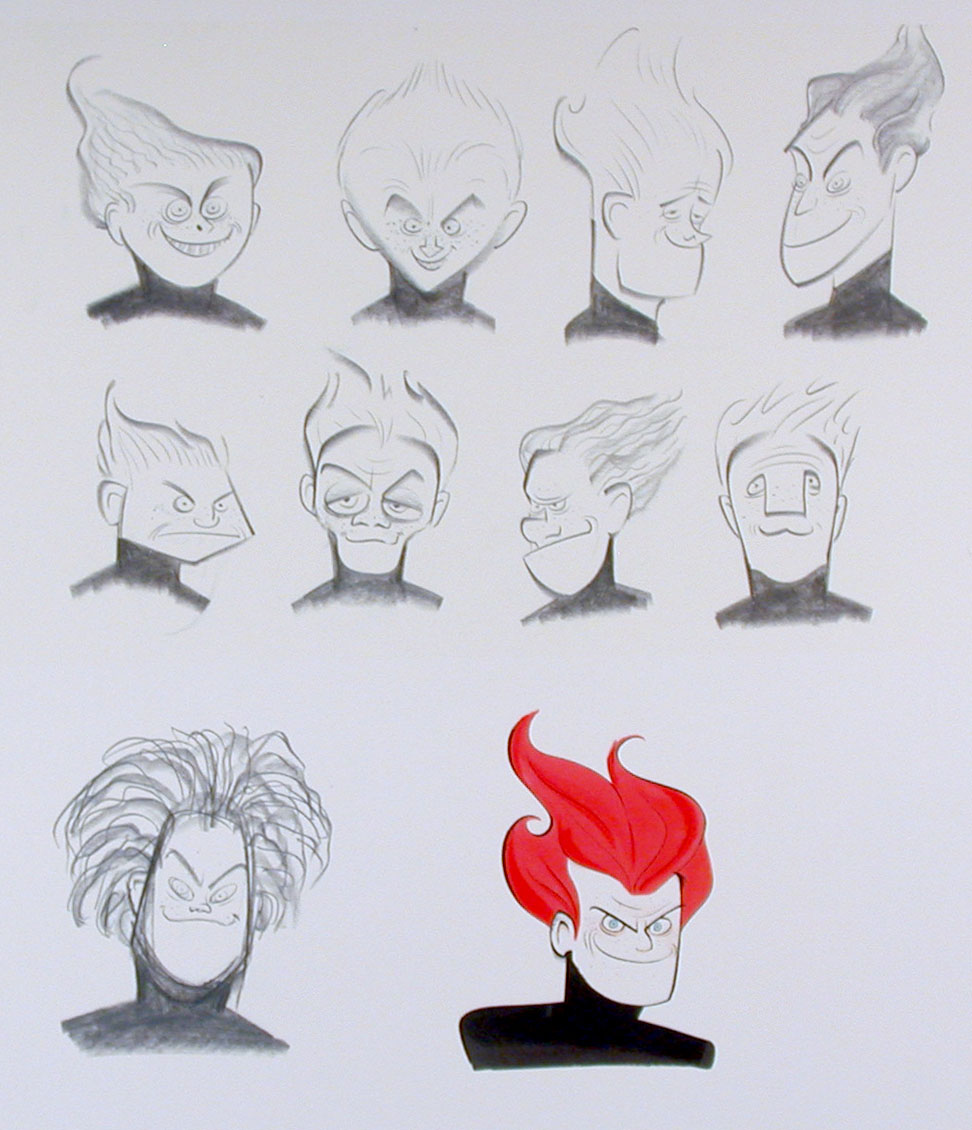
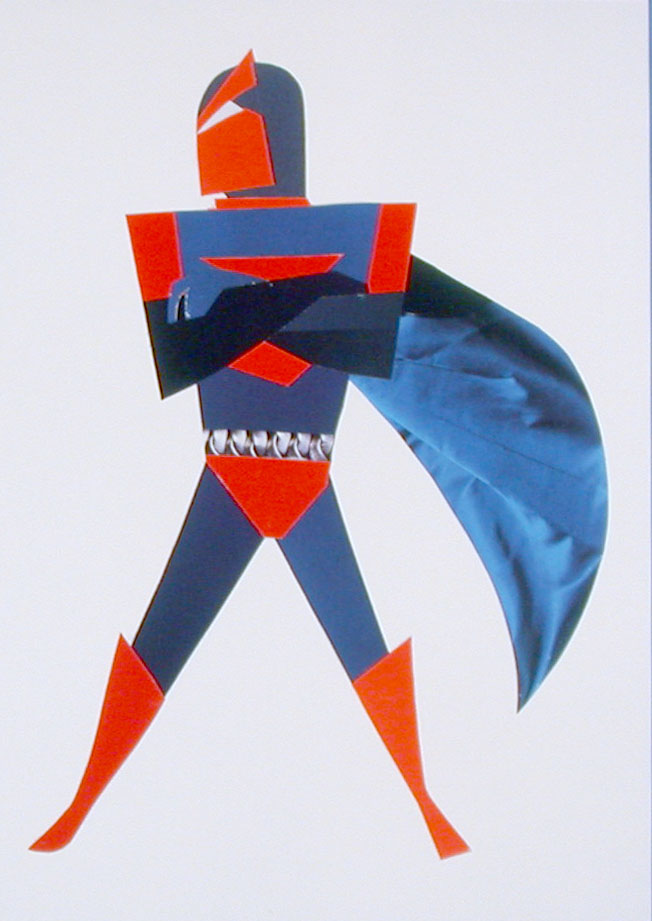
MORE EXAMPLES - Pixar Incredibles

4. POSE SHEETS
Once the design direction of a character is established pose sheets are used to explore the character's physical range.
EXAMPLE: The image below of a pose sheet that a Pixar artist did for Boo in Monster's Inc. Click for full image.
MORE EXAMPLES: https://www.pinterest.com/steveleeper71/character-pose-sheets/
WORKFLOW:
- Work small using only basic forms and gestures to explore your characters range of physical action.
- I recommend limiting yourself to a 3-part construction of head, torso, and pelvis with noodle arms and legs.
- Draw more than you need, then compose between 12 and 15 on a single page with Photoshop
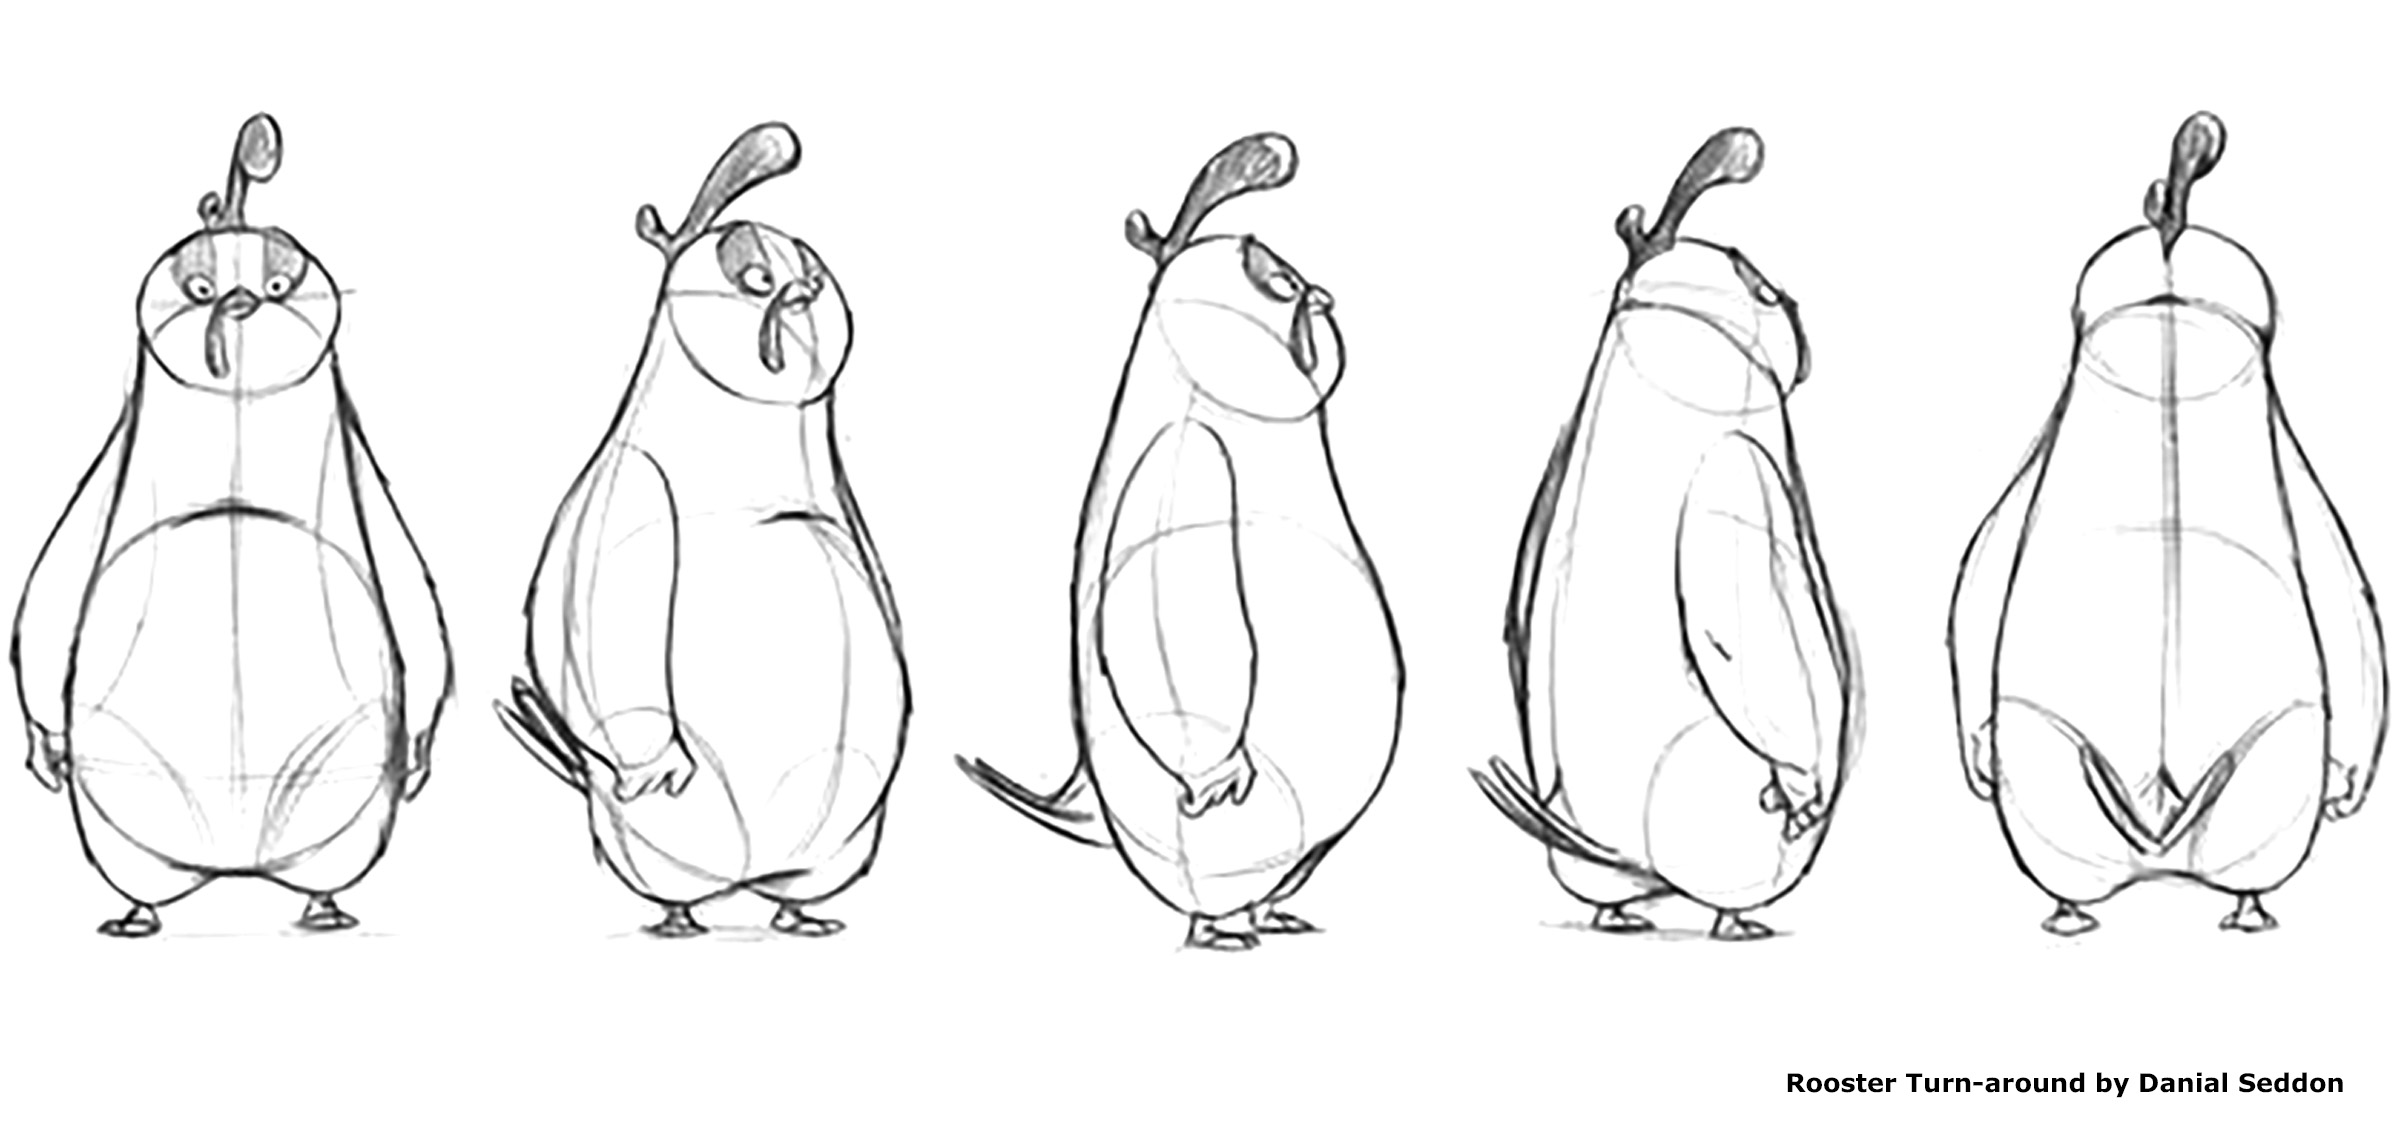
5. CHARACTER TURN-AROUND
The Turn-around sheet lets you see your character from all angles. While important to CG Modelers and Stop-mo puppet makers, it is equally important to traditional animators who need to know exactly how each particular angle is going to be stylized. Often the Turn-around will help animators avoid awkward angles in stylized characters by limiting the audiences access and using only angles that complement the design. (ie. Never showing a particular character's face directly facing the camera but always slightly to the right or left).EXAMPLE:
MORE EXAMPLES: https://www.pinterest.com/steveleeper71/character-turn-arounds/
WORKFLOW:
- Toon Boom Harmony is a great tool for drawing Character Turn-arounds.
- Begin by drawing the front, side and back views directly on top of each other in a single timeline layer. Then use onion skin to draw the 3/4 pose inbetween.
- Once you have drawn all the poses copy each drawing onto its own layer and use the transform tool to arrange them hortzontlly in the scene. Then export a Lyout image.
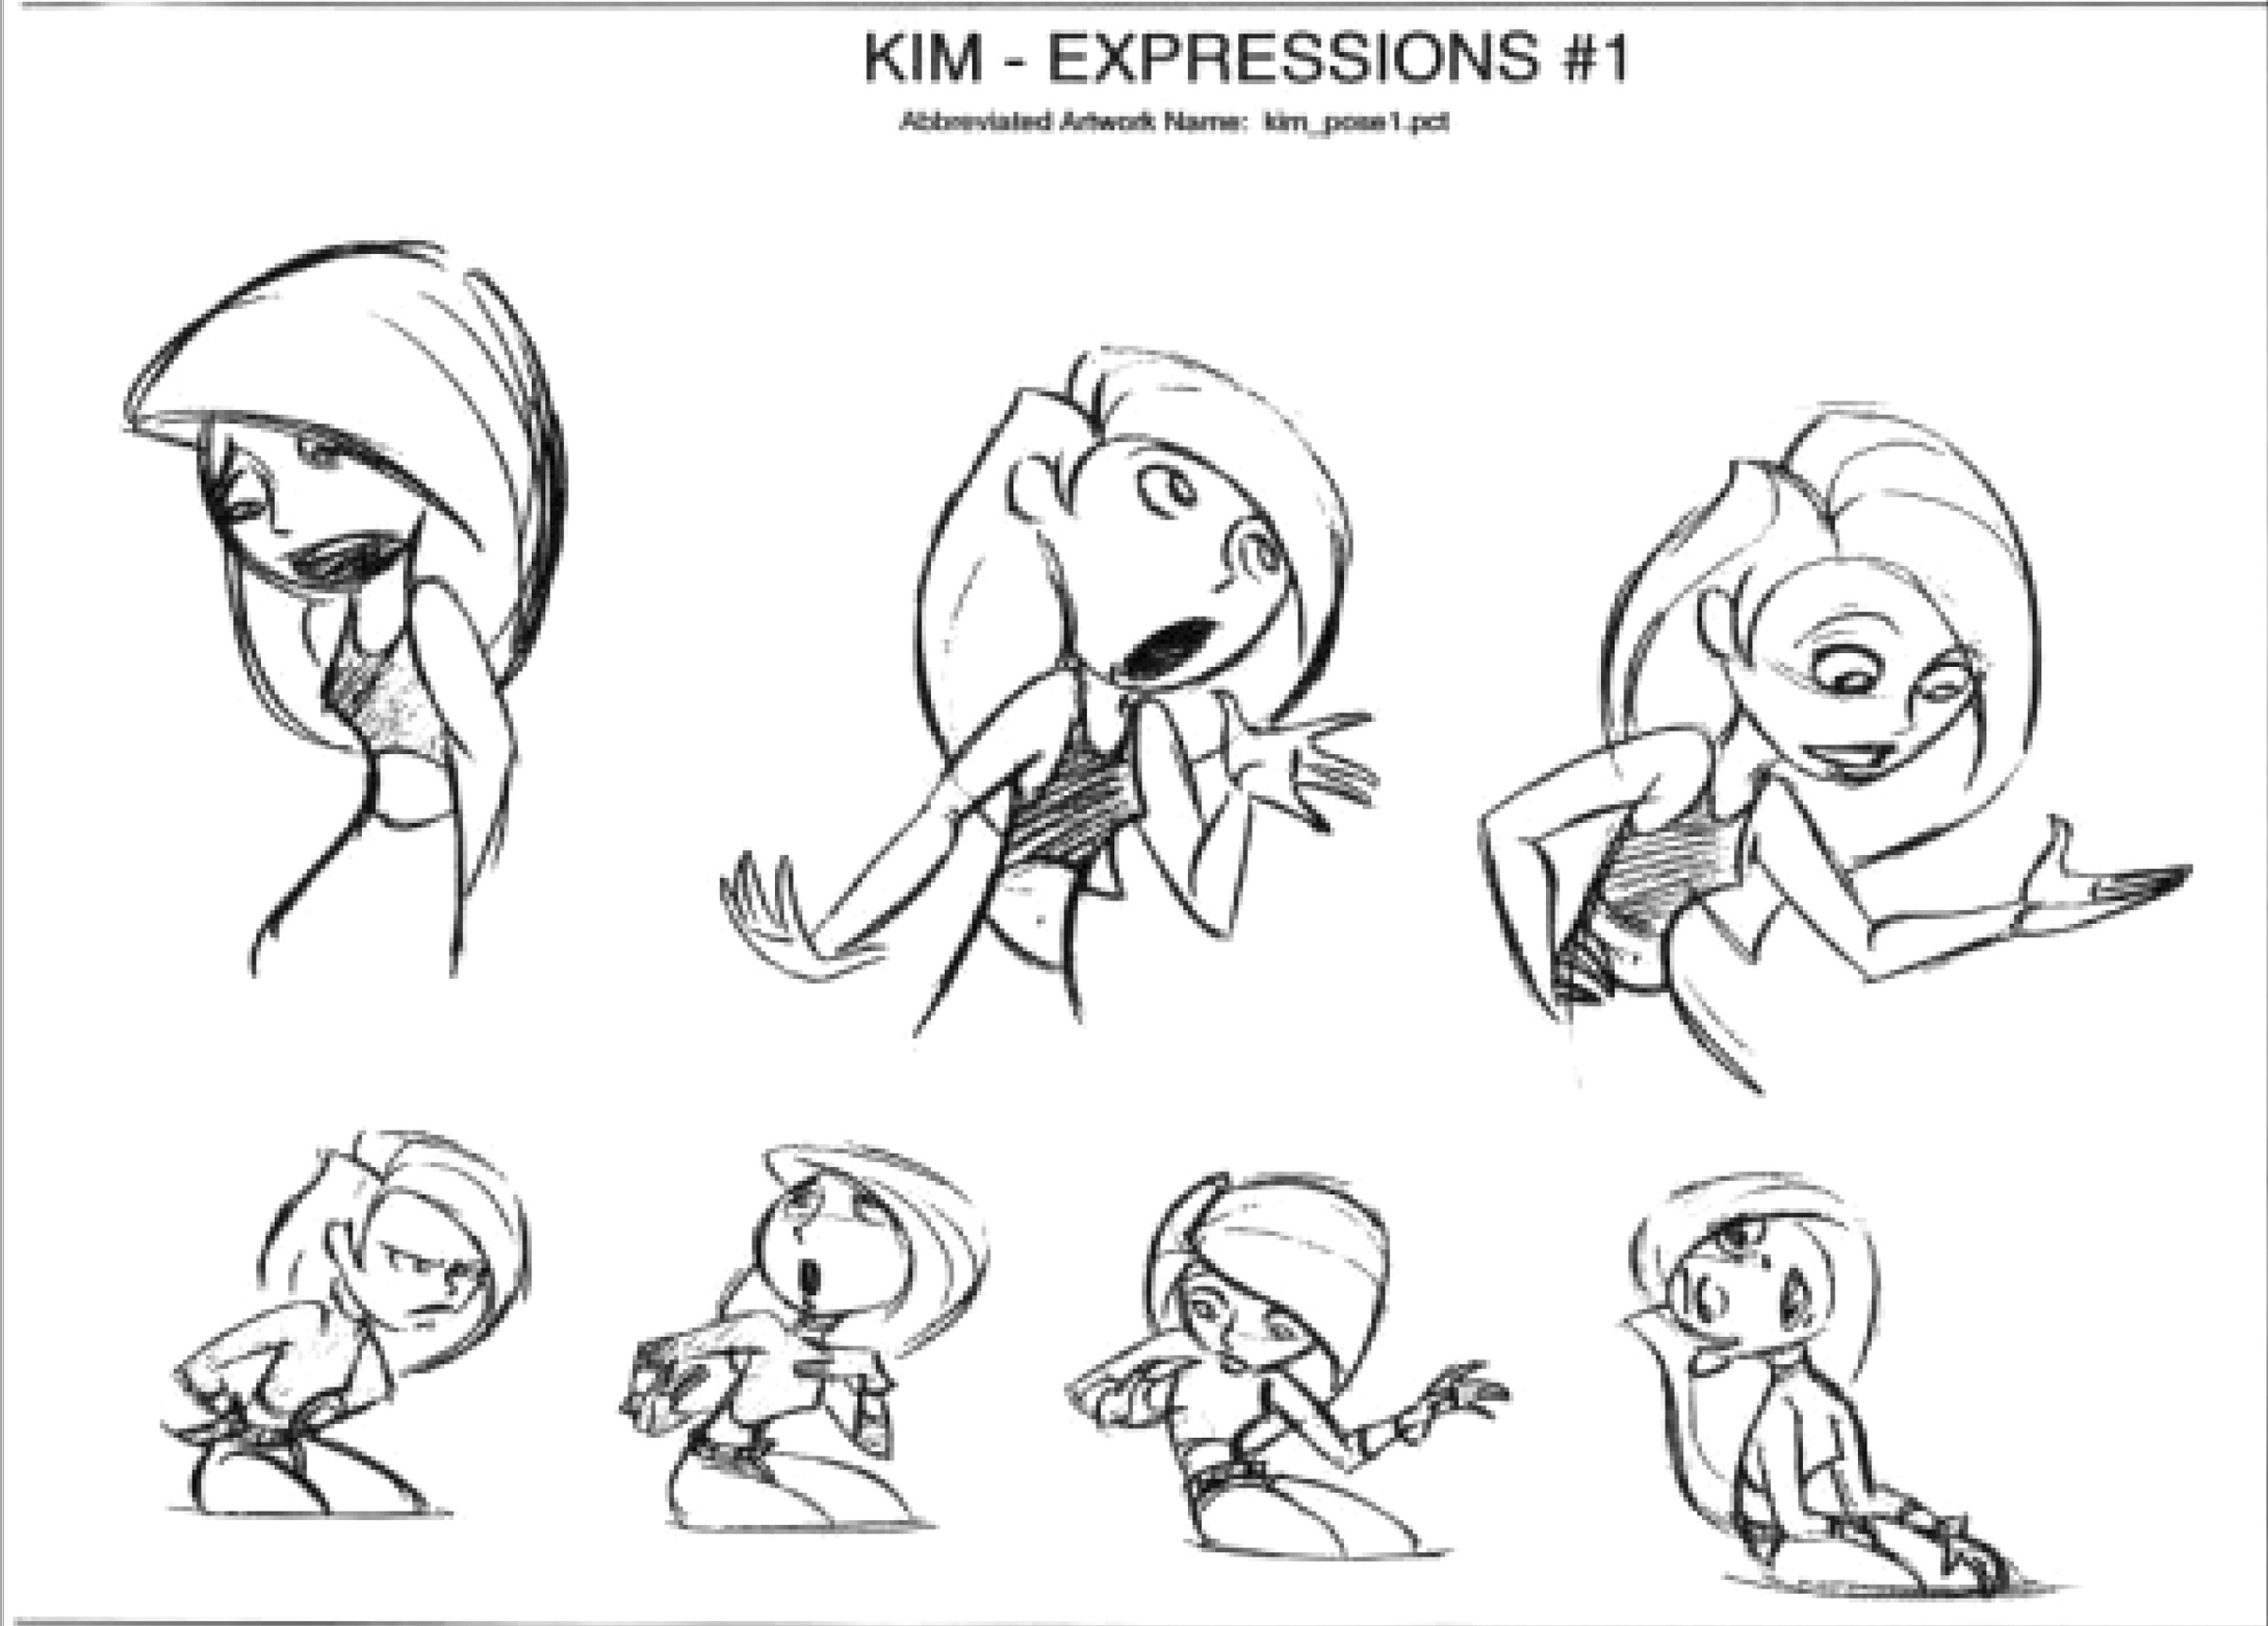
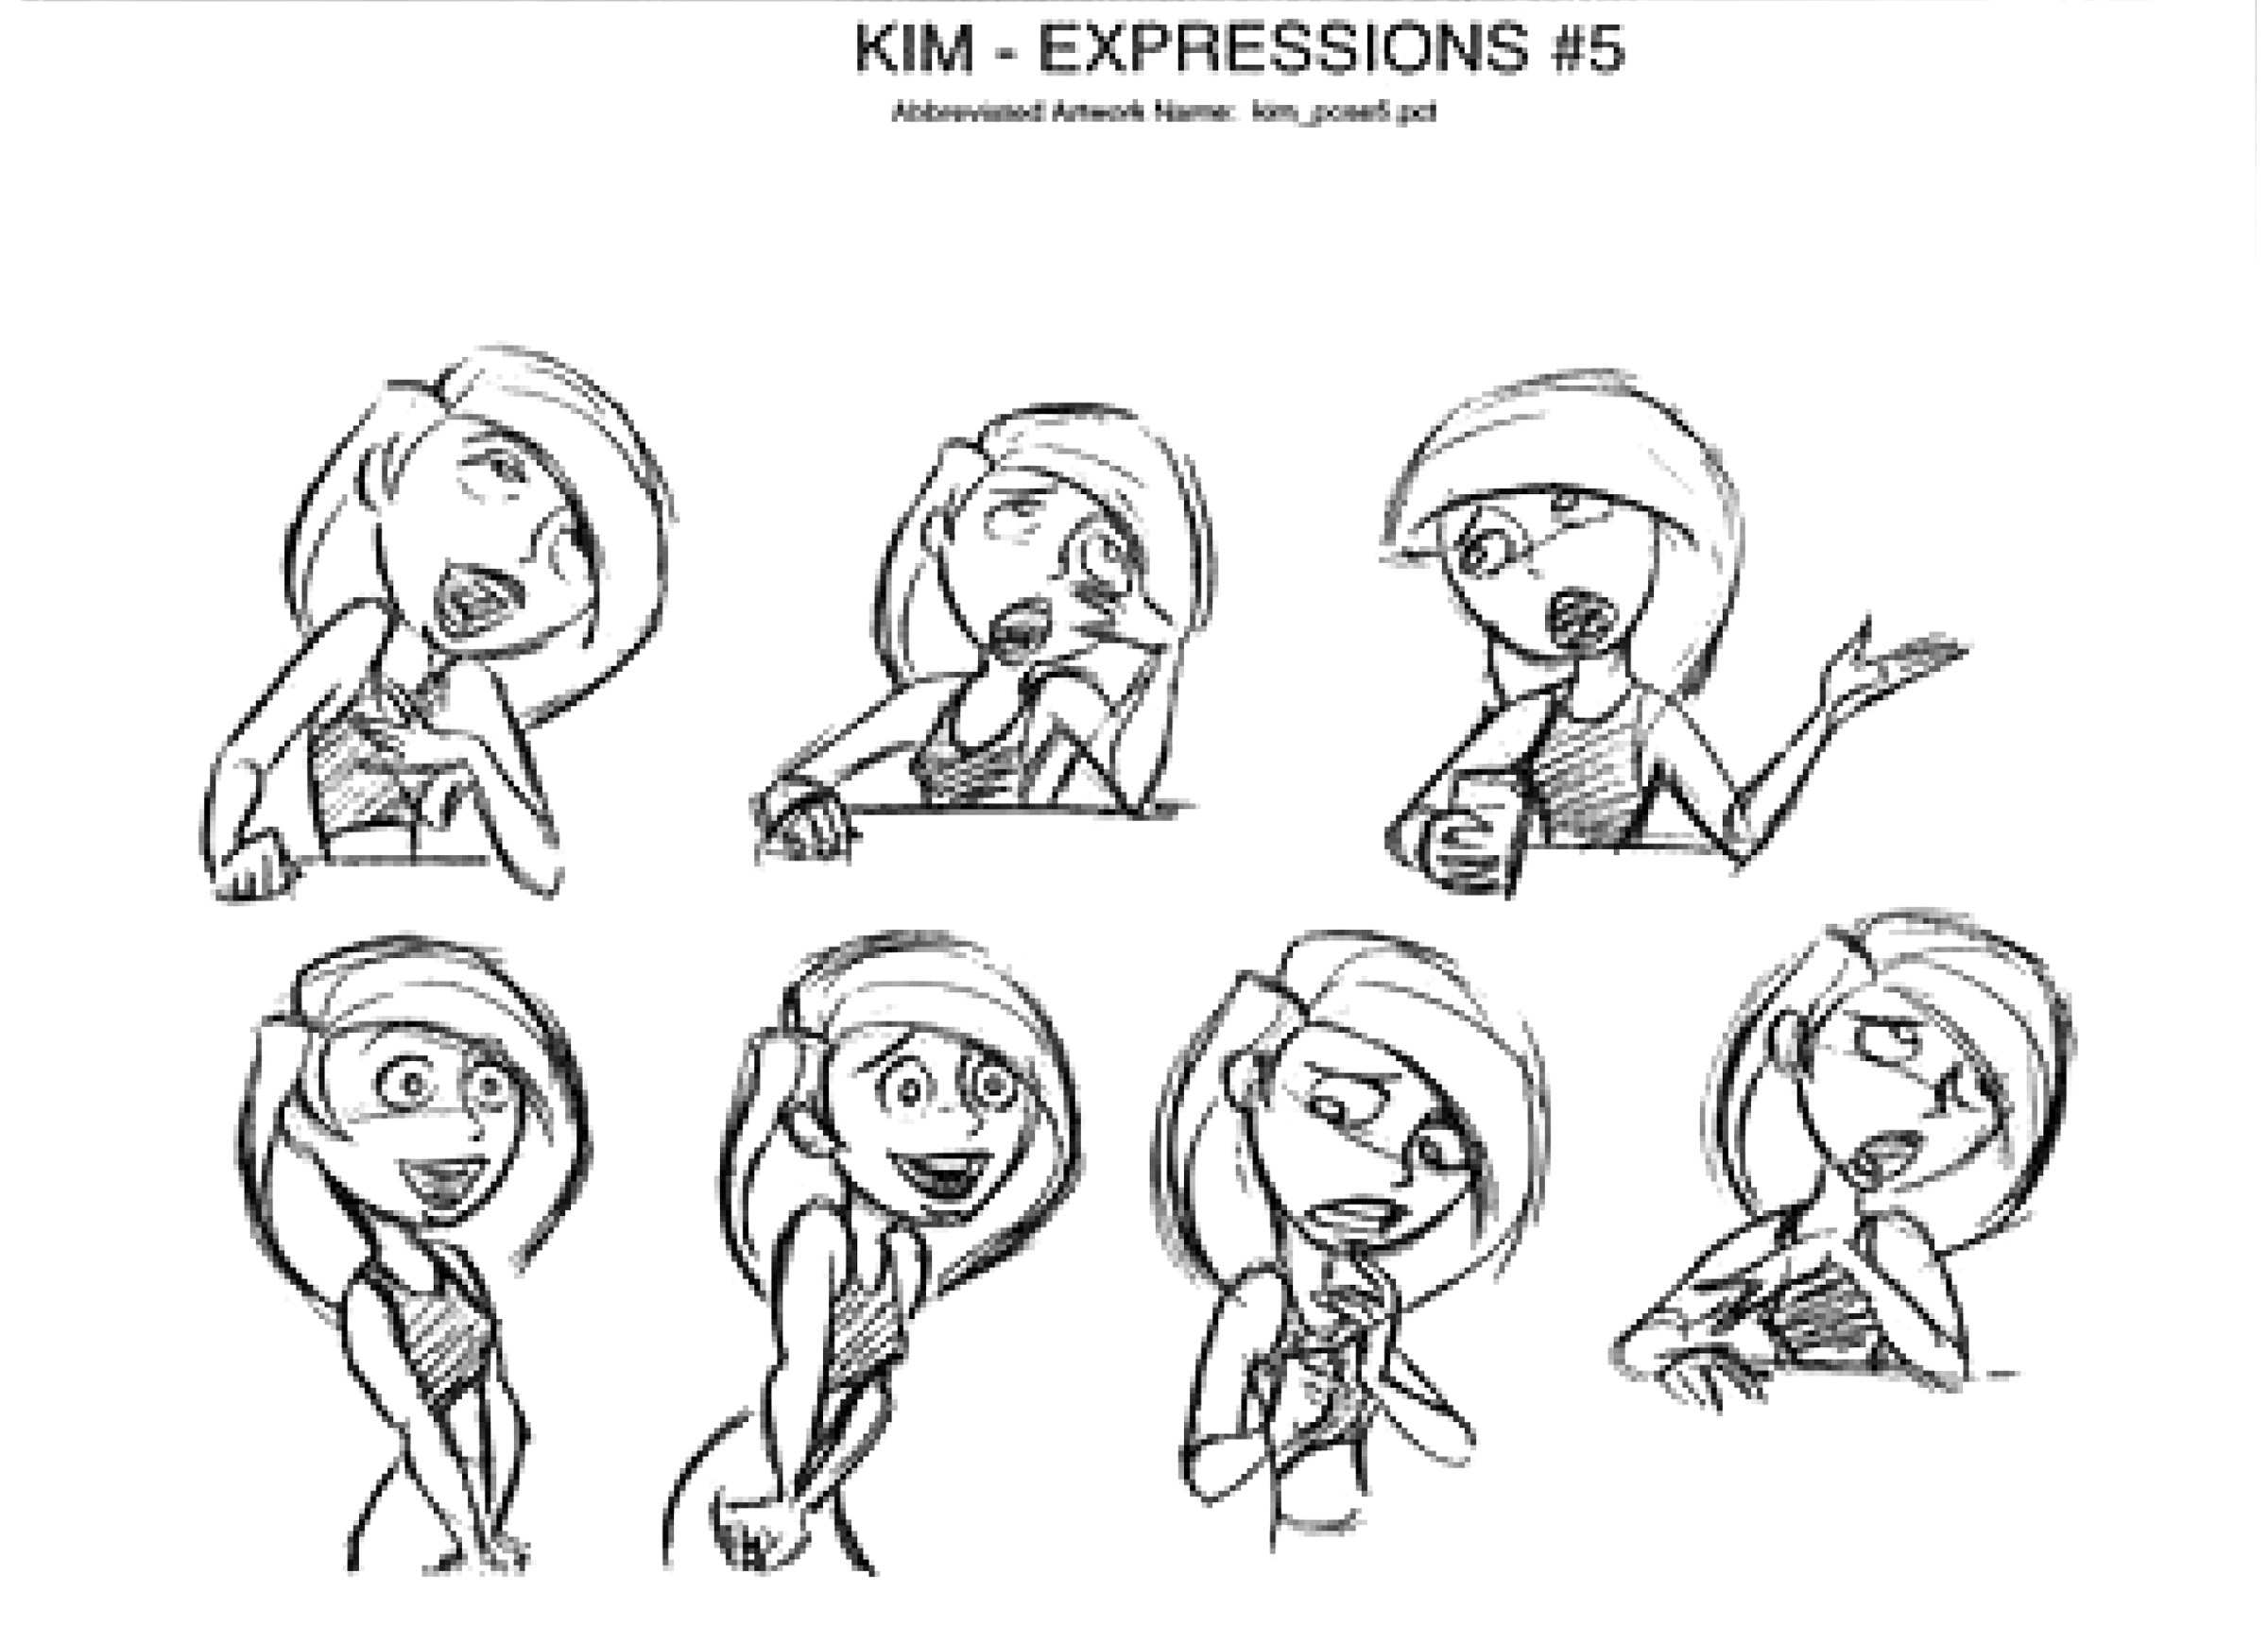
6. CHARACTER EXPRESSION SHEET
The expression sheet is used to explore the emotional range of a character. Often expression sheets focus on facial expressions but sometimes branch out to resolcve gesture and pose.
EXAMPLE: Kim Possible

MORE EXAMPLES:
https://www.pinterest.com/steveleeper71/character-expression-sheets/
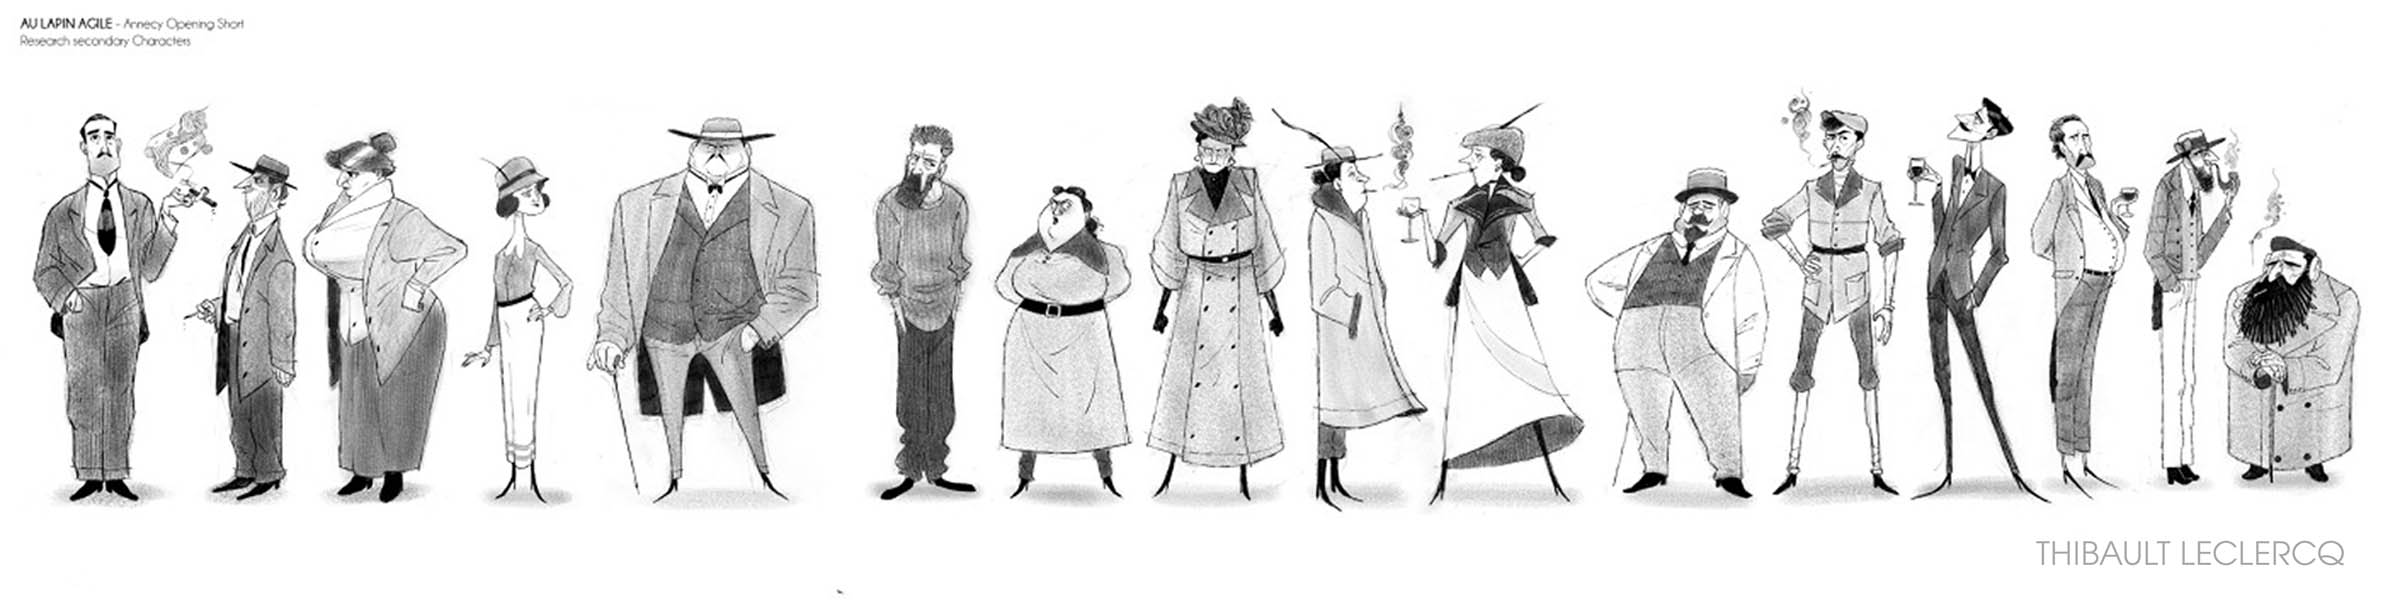
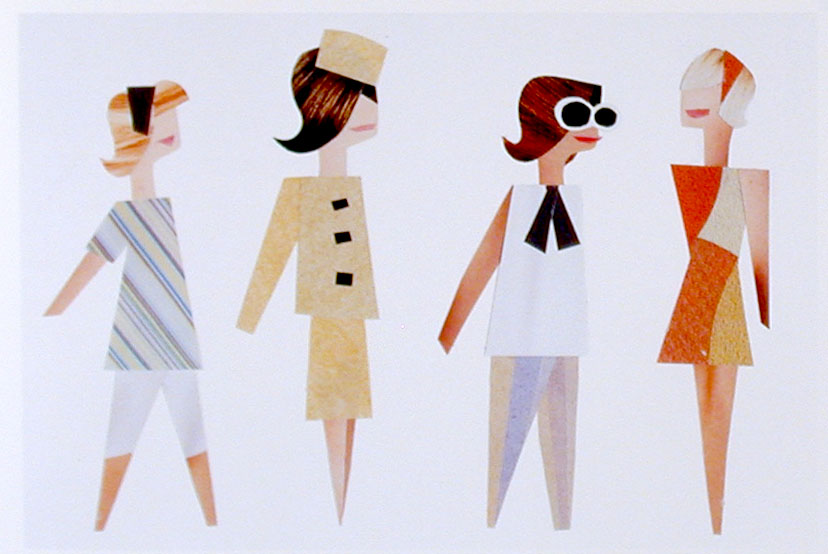
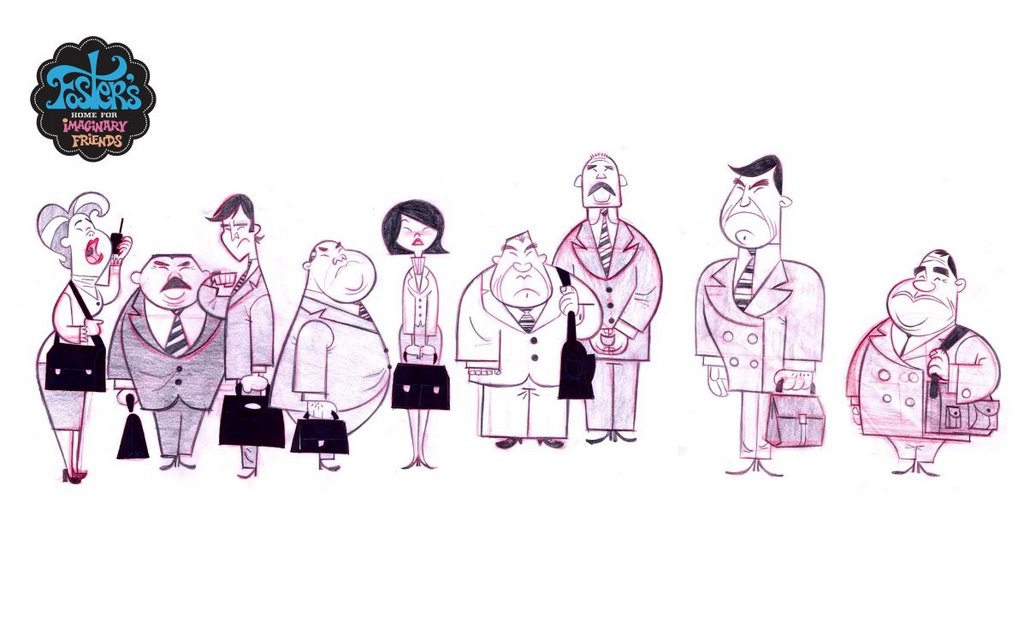
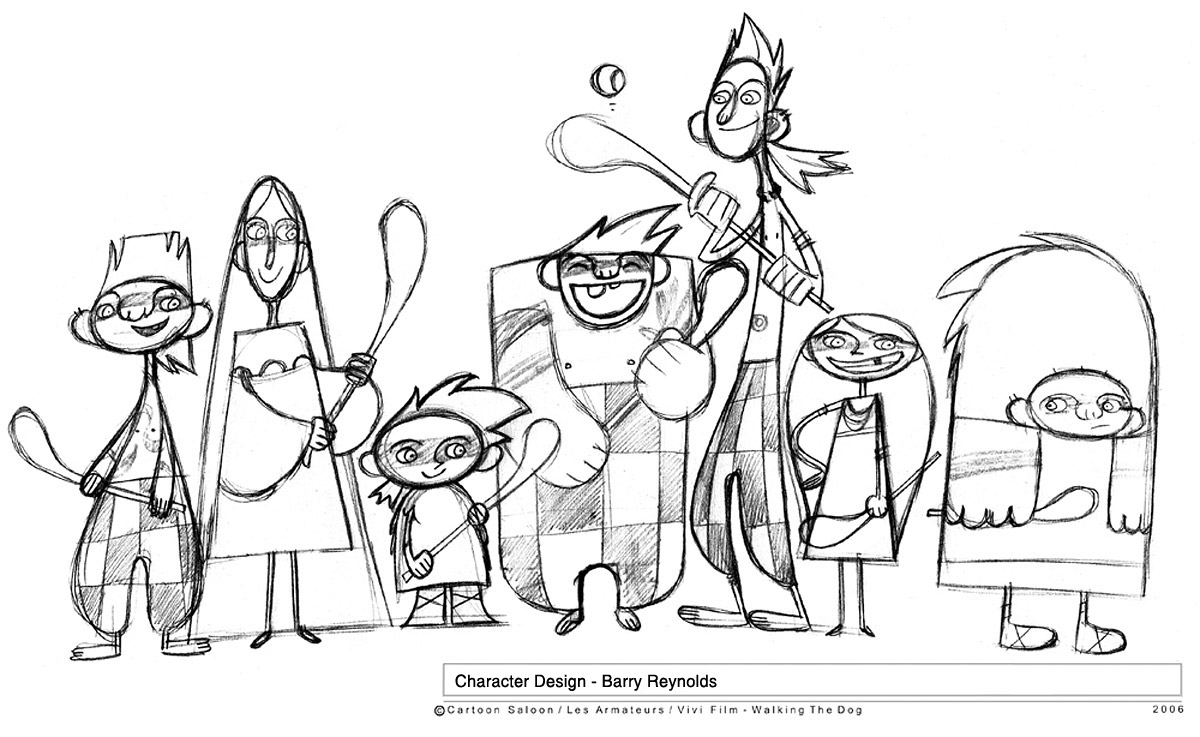
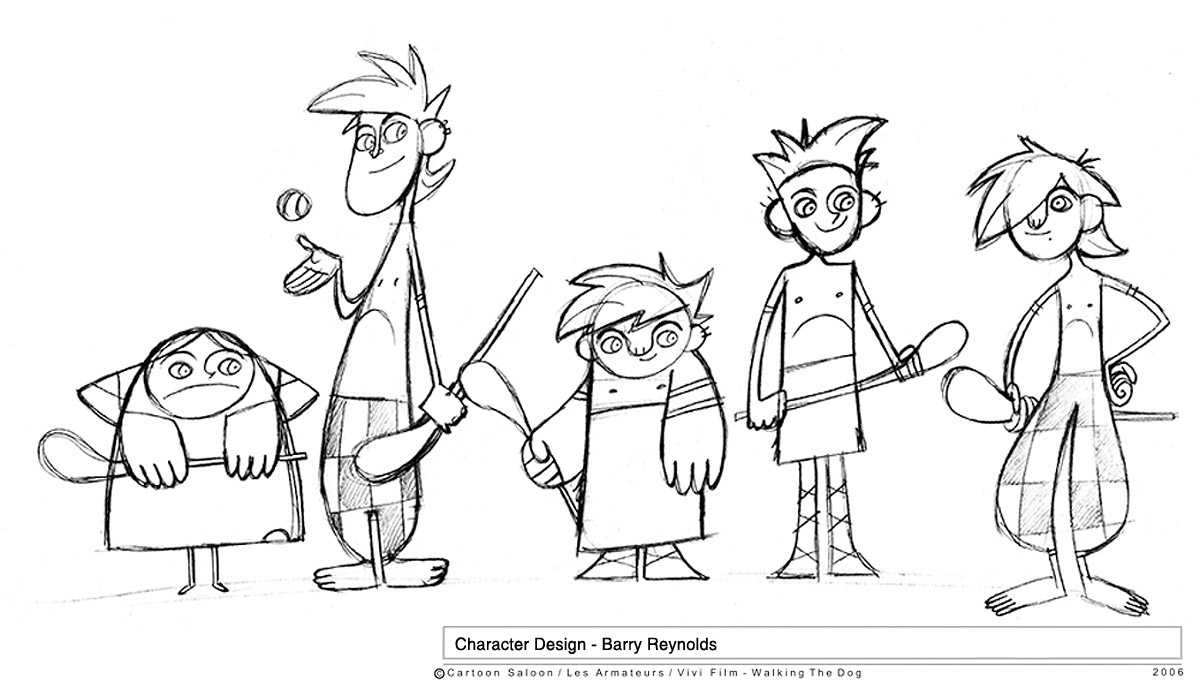
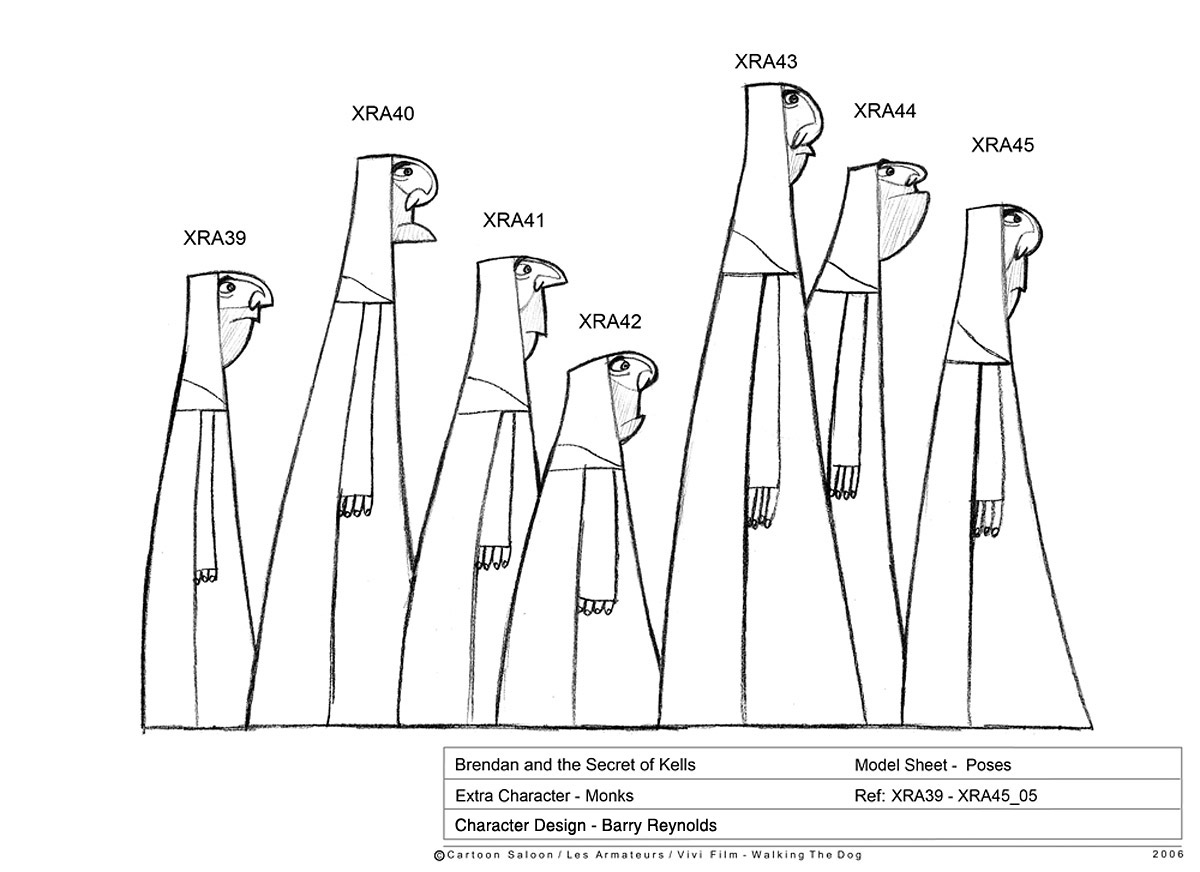
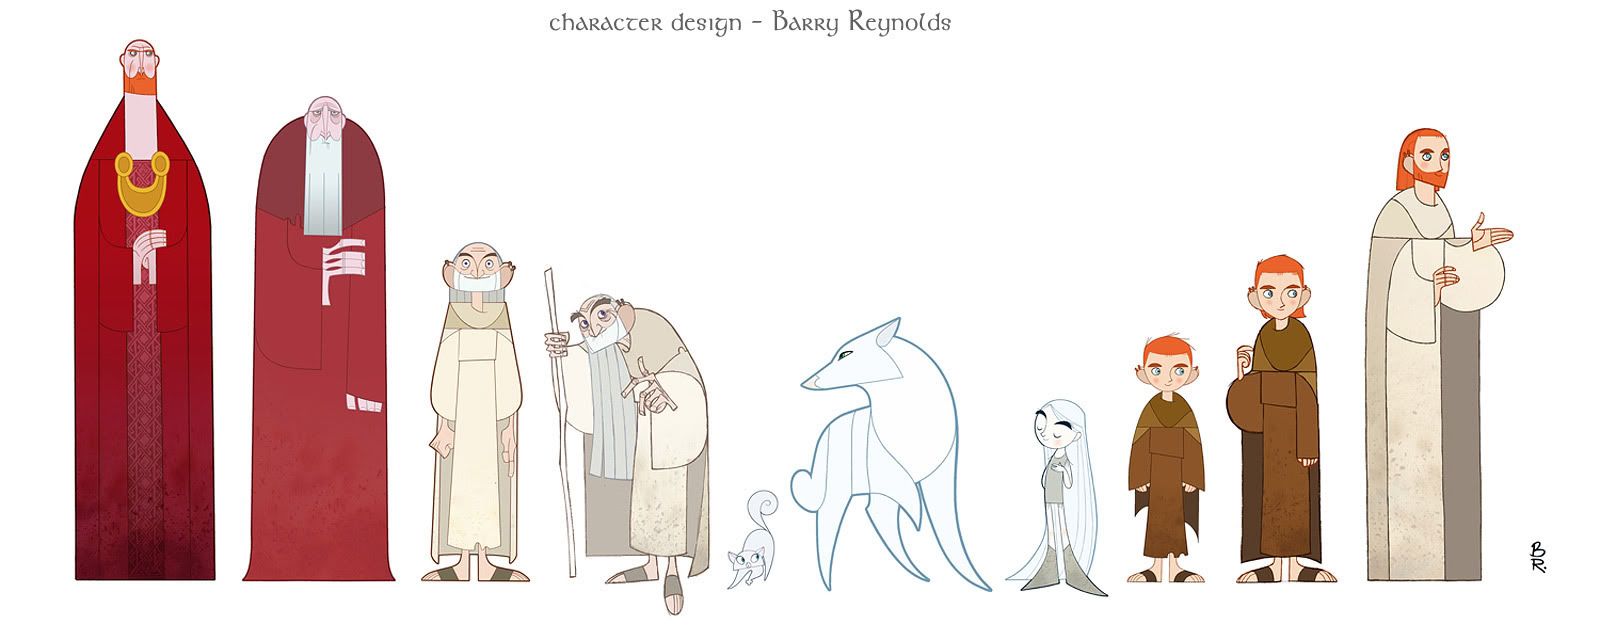
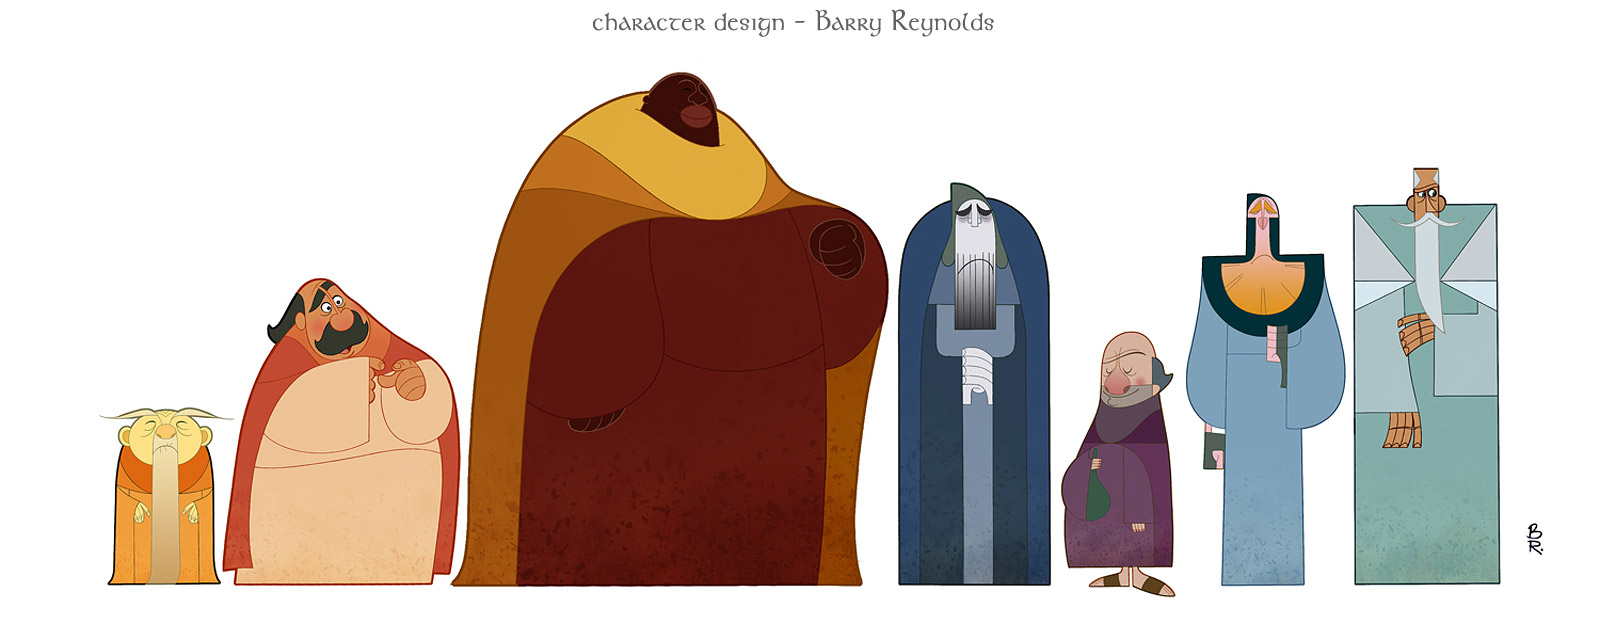
7. CHARACTER LINE-UP
Lining up all of your characters in a row can help you understand how your characters relate to one another. Scale can can have a lot to do with how they will interact on the screen.
EXAMPLE 1: Brendon and the Secret of Kells - Sketches
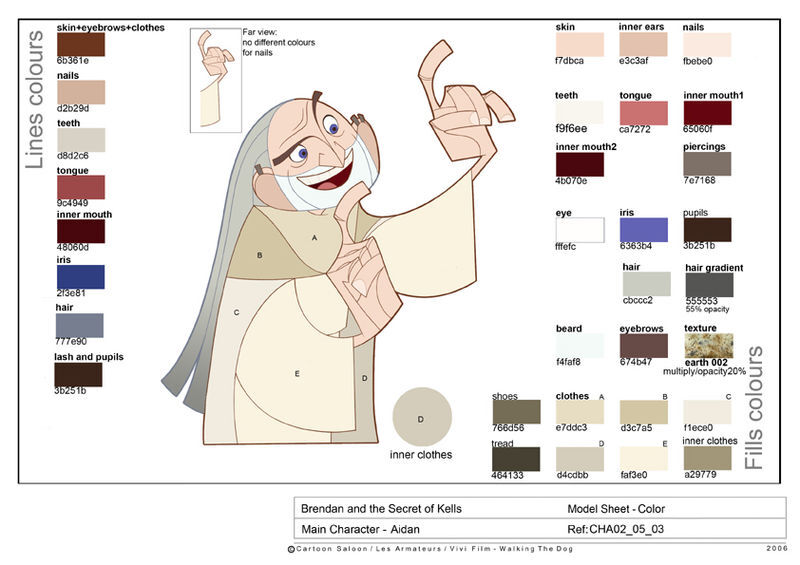
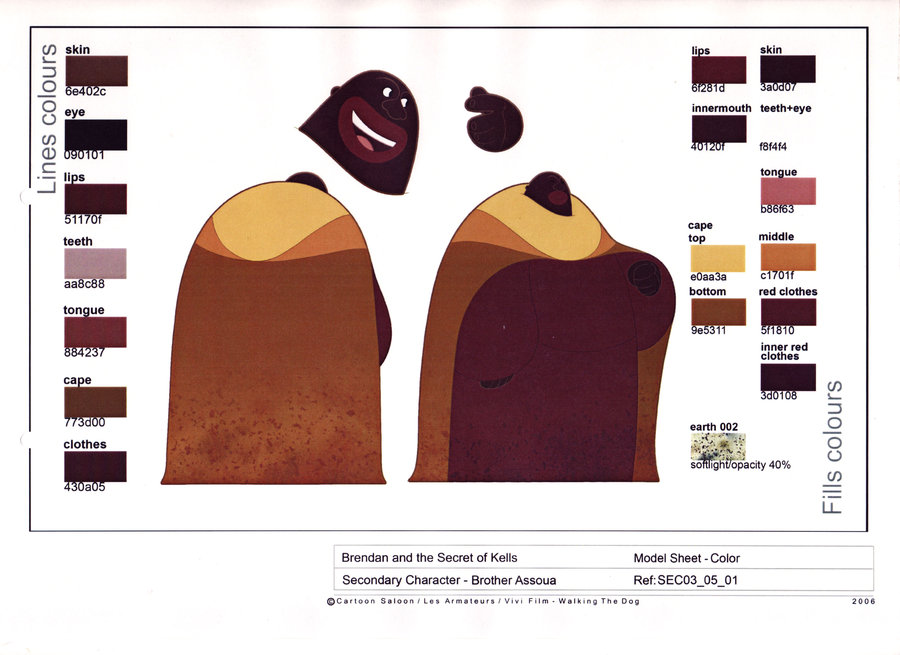
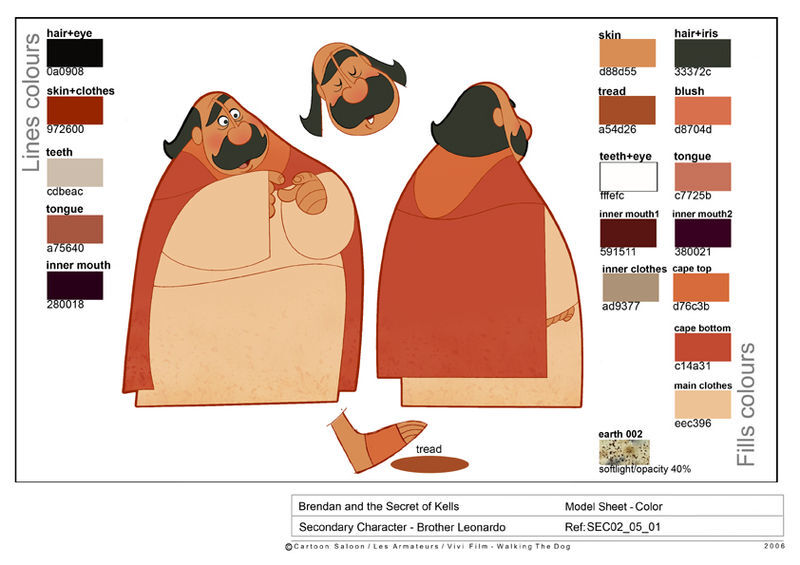
EXAMPLE 2: Brendon and the Secret of Kells - Final Color
MORE EXAMPLES:
https://www.pinterest.com/steveleeper71/character-model-sheets/character-line-ups/
8. COLOR PILOTS
The color pilot is is a final guide to how color will be used in production. For our purposes these will be built in Harmony with dedicated color palettes.
EXAMPLE: Brendon and the Secret of Kells
9. COMPILE CHARACTER WORKBOOK
The Character Design Workbook combines all of your character research, exploration and documentation as a single resource. Collect all of your previous research and design assets and combine them using Adobe Acrobat or in Design.
Examples:
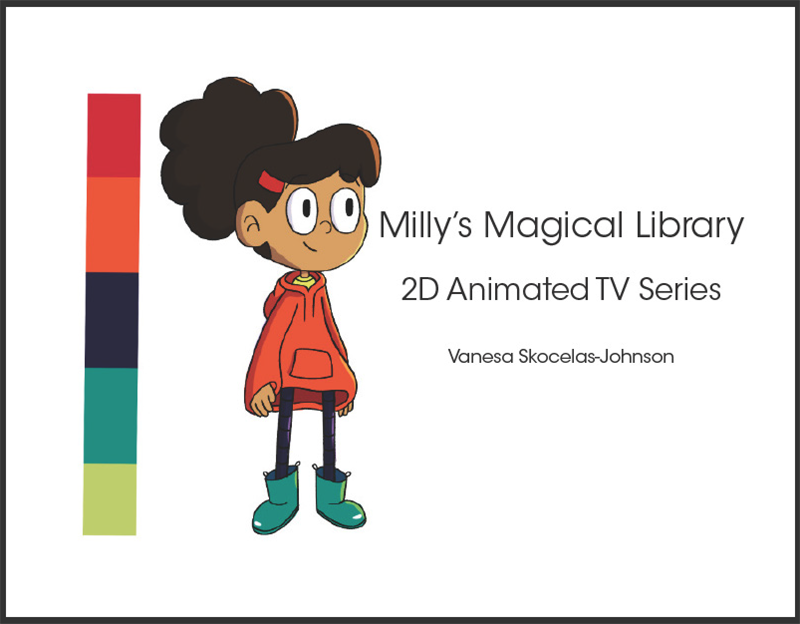
Stephan Leeper - Central Michigan University 2022


